-
Compact the Base
A hand tamper will work fine for most walls, but for large projects, gas-powered tampers are available to rent. A 4×4 can be used as a last resort. Compact the first few inches of base, then add a few more inches. Compact this, and repeat until the tops of the stakes are just sticking out of the base material. Note: Base material—a mix of sand and crushed rock—is available at home improvement and landscape supply stores, usually in bags of 50 pounds or 0.5 cubic feet. Do not use soil since it will settle over time, resulting in an uneven or leaning wall.
-
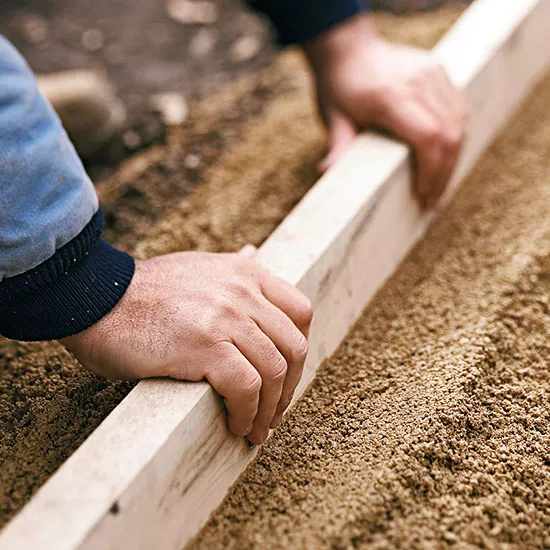
Level the Base
Using a straight 2×4, level the top of the base material so it’s completely flat. This is crucial; if they’re not level, you’ll fight against the base and first course of bricks throughout construction.
-
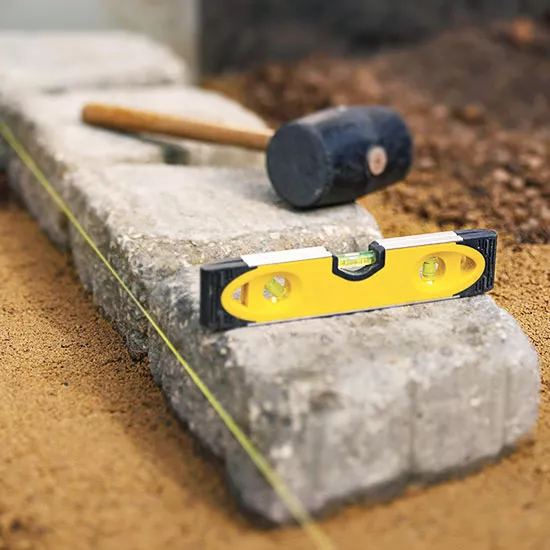
Lay the Base Blocks
Start laying blocks at one end, using a full block. Use a torpedo level to check the level front to back. Tap the blocks with a rubber mallet until they are level with one another. If you need to raise a block, put sand or base material under it.
Level every block on the first course. It does the most work, receiving all the pressure from the wall and determining how level the wall will be. When you finish this layer, pack native soil along the fronts of the blocks to keep them in place as you add the following courses.
-
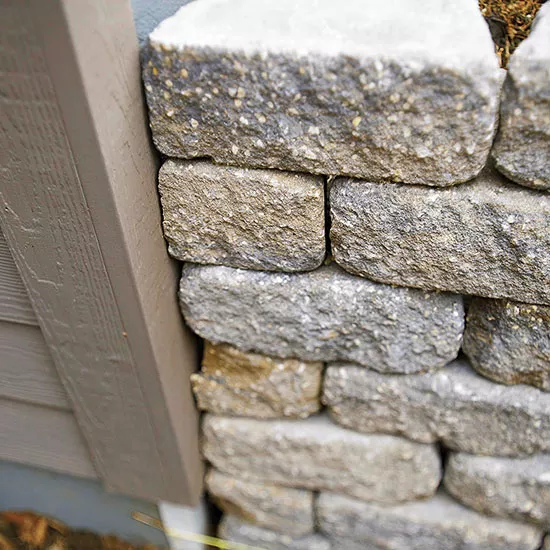
Continue Stacking Blocks
Begin the second course with a half block (start every second row with a half block). With staggered joints, the wall will have more structural integrity.
To cut, score a line around the block with a brick chisel, then tap until the block splits. If you need to make many cuts, or cut custom capstones, rent a masonry saw from a tool-rental shop.
-
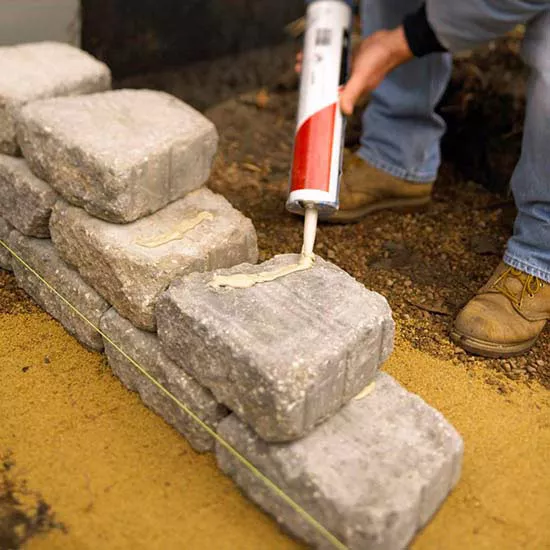
Continue Stacking Blocks, Part 2
Some retaining-wall blocks have locking mechanisms that allow them to be built to about 4 feet tall without extra engineering. Because we used tumbled blocks with no locking mechanisms, we used a construction adhesive on alternate courses.
Remember, with locking blocks, you can remove blocks and start over if you make a mistake. But adhesive permanently bonds blocks, so work carefully.
-
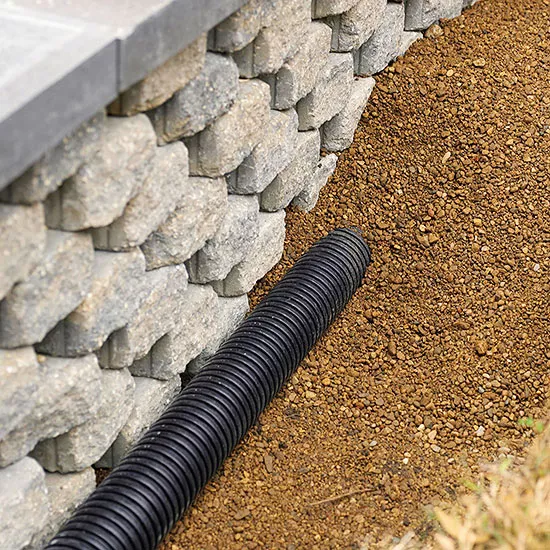
Backfill
As each level is added, backfill with crushed gravel and tamp it. This facilitates drainage and keeps tree and weed roots from destroying your wall. In addition to the gravel backfill, drainage that empties beyond the wall is crucial to maintaining the wall’s strength. Lay a section of perforated drainpipe near the bottom of the gravel to channel water from behind the wall. The gravel backfill should be at least 8-12 inches thick.
-
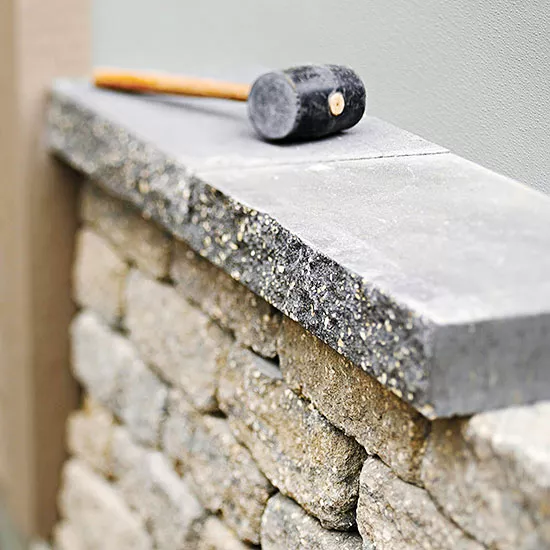
Add the Capstones
Although not essential, capstones give your wall a finished, professional look. Most manufacturers make capstones that blend well with the wall block, or you can use concrete pavers cut to fit, as we’ve done here. Apply construction adhesive to keep the capstones in place.