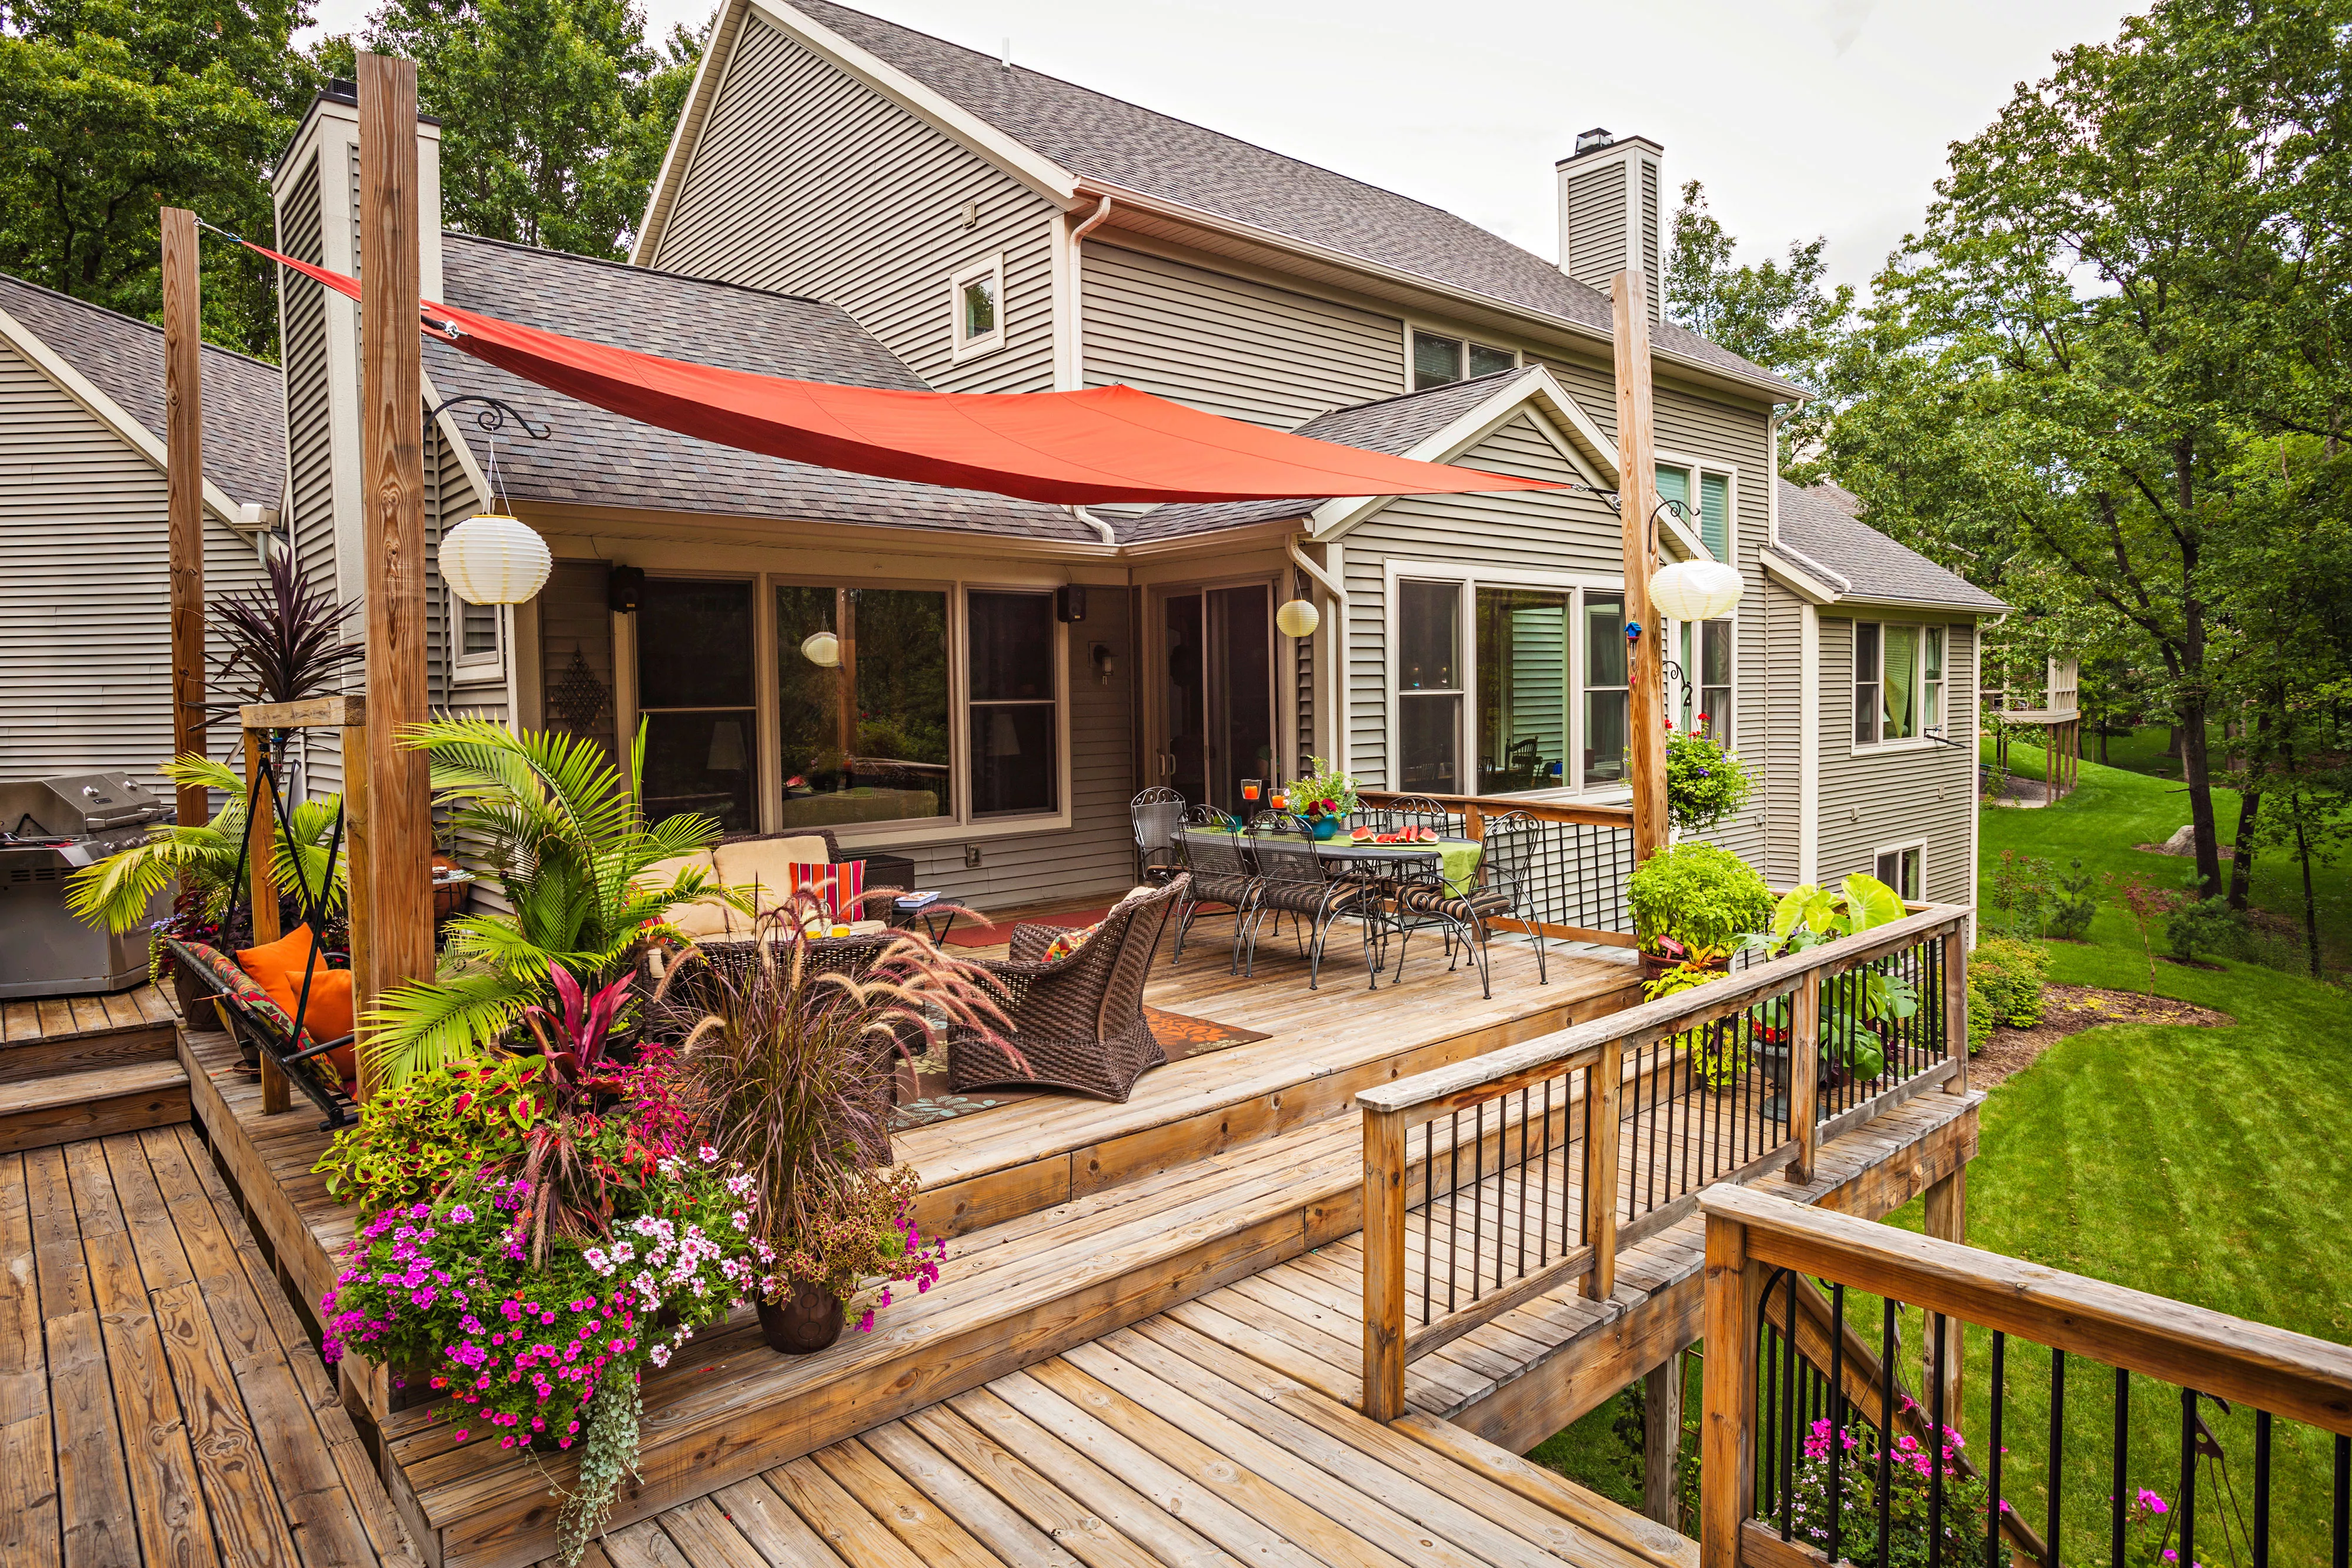
Mounting a shade sail above your deck or patio yourself will save you money and have you sipping in the shade in no time.
- Working Time: 4 hours
- Total Time: 1 day
- Skill Level: Intermediate
- Estimated Cost: $75 to $200
A shade sail is a practical way to add comfort to a sunny deck or patio. Best of all, you can skip the call to the handyman thanks to our step-by-step installation guide.
Shade sails come in a variety of colors and shapes and can even be ordered online with custom dimensions to suit your space perfectly. They’re ideal for spots and situations where retractable awnings aren’t practical and more permanent shade solutions simply aren’t an option due to space, budget, or other factors. Upgrade your outdoor living space with our top tips for shade sail installation.
Before Getting Started
Before purchasing a shade sail, you must determine if it’s right for your space. First and foremost, you must identify the possible connection points for the shade sail.
When installing a shade sail above a deck or patio, you’ll likely need one or more connection points to fall on your home. This means you must be able to securely install strong hardware such as lag eyebolt into a structural material.
For most homes, strong structural elements are hidden behind veneers or siding, so the best option is to identify wall studs behind the fascia. One of the easiest spots to find a structural component is directly above a window, where you will likely find a wooden header.
If you are unsure of your home’s ability to support hardware for a shade sail or you aren’t confident in your ability to securely install said hardware, contact a professional before installing a shade sail.
Any corner of your shade sail not attached to your home must be connected to a post set firmly in the ground. You can purchase steel posts that are made specifically for mounting shade sails or simply opt for treated wooden posts available at the hardware store. While steel may last longer and offer a more modern aesthetic, wooden posts are easier on the wallet. No matter the material, plan on putting shade sail posts a minimum of 3 feet into the ground.
If you’re lucky enough to have a strong tree nearby, you can attach your shade sail to it. To do so without damaging the tree, utilize a mounting strap rather than driving hardware into the tree itself.
How to Determine Shade Sail Size
To ensure you buy the right size shade sail, first, determine the shape you prefer. While many people like the look of triangle shade sails, they offer considerably less shade than square or rectangle sails. Once you determine the shade sail shape and have identified the mounting points, purchase a shade sail that’s approximately 2 feet shorter than the space between your mounting points. This will offer plenty of room for tensioning to ensure the shade sail doesn’t sag.
Equipment / Tools
- Stud finder
- Measuring tape
- Post hole digger or auger
- Shovel
- Wheelbarrow
- Post level
- Drill
- Drill bits
- Adjustable wrench
- Ladder
Materials
- 2 6×6 treated ground contact wooden posts
- Shade sail with mounting hardware kit
- Rope (optional)
- Quick-setting concrete
- Scrap boards
- Wood screws
- UV-rated wood sealant