Upgrade your yard or patio with DIY outdoor decor that can be created in less than an hour.
Add personality and style to your backyard or patio with these DIY outdoor decorating ideas. Each of these simple projects can be finished in 30 minutes or less, so you’ll spend less time crafting and more time enjoying the outdoors. Upgrade your yard with colorful planters, simple wind chimes, a pretty birdhouse, and more, with these easy-to-follow (and budget-friendly) outdoor decor ideas.
Mailbox Planter
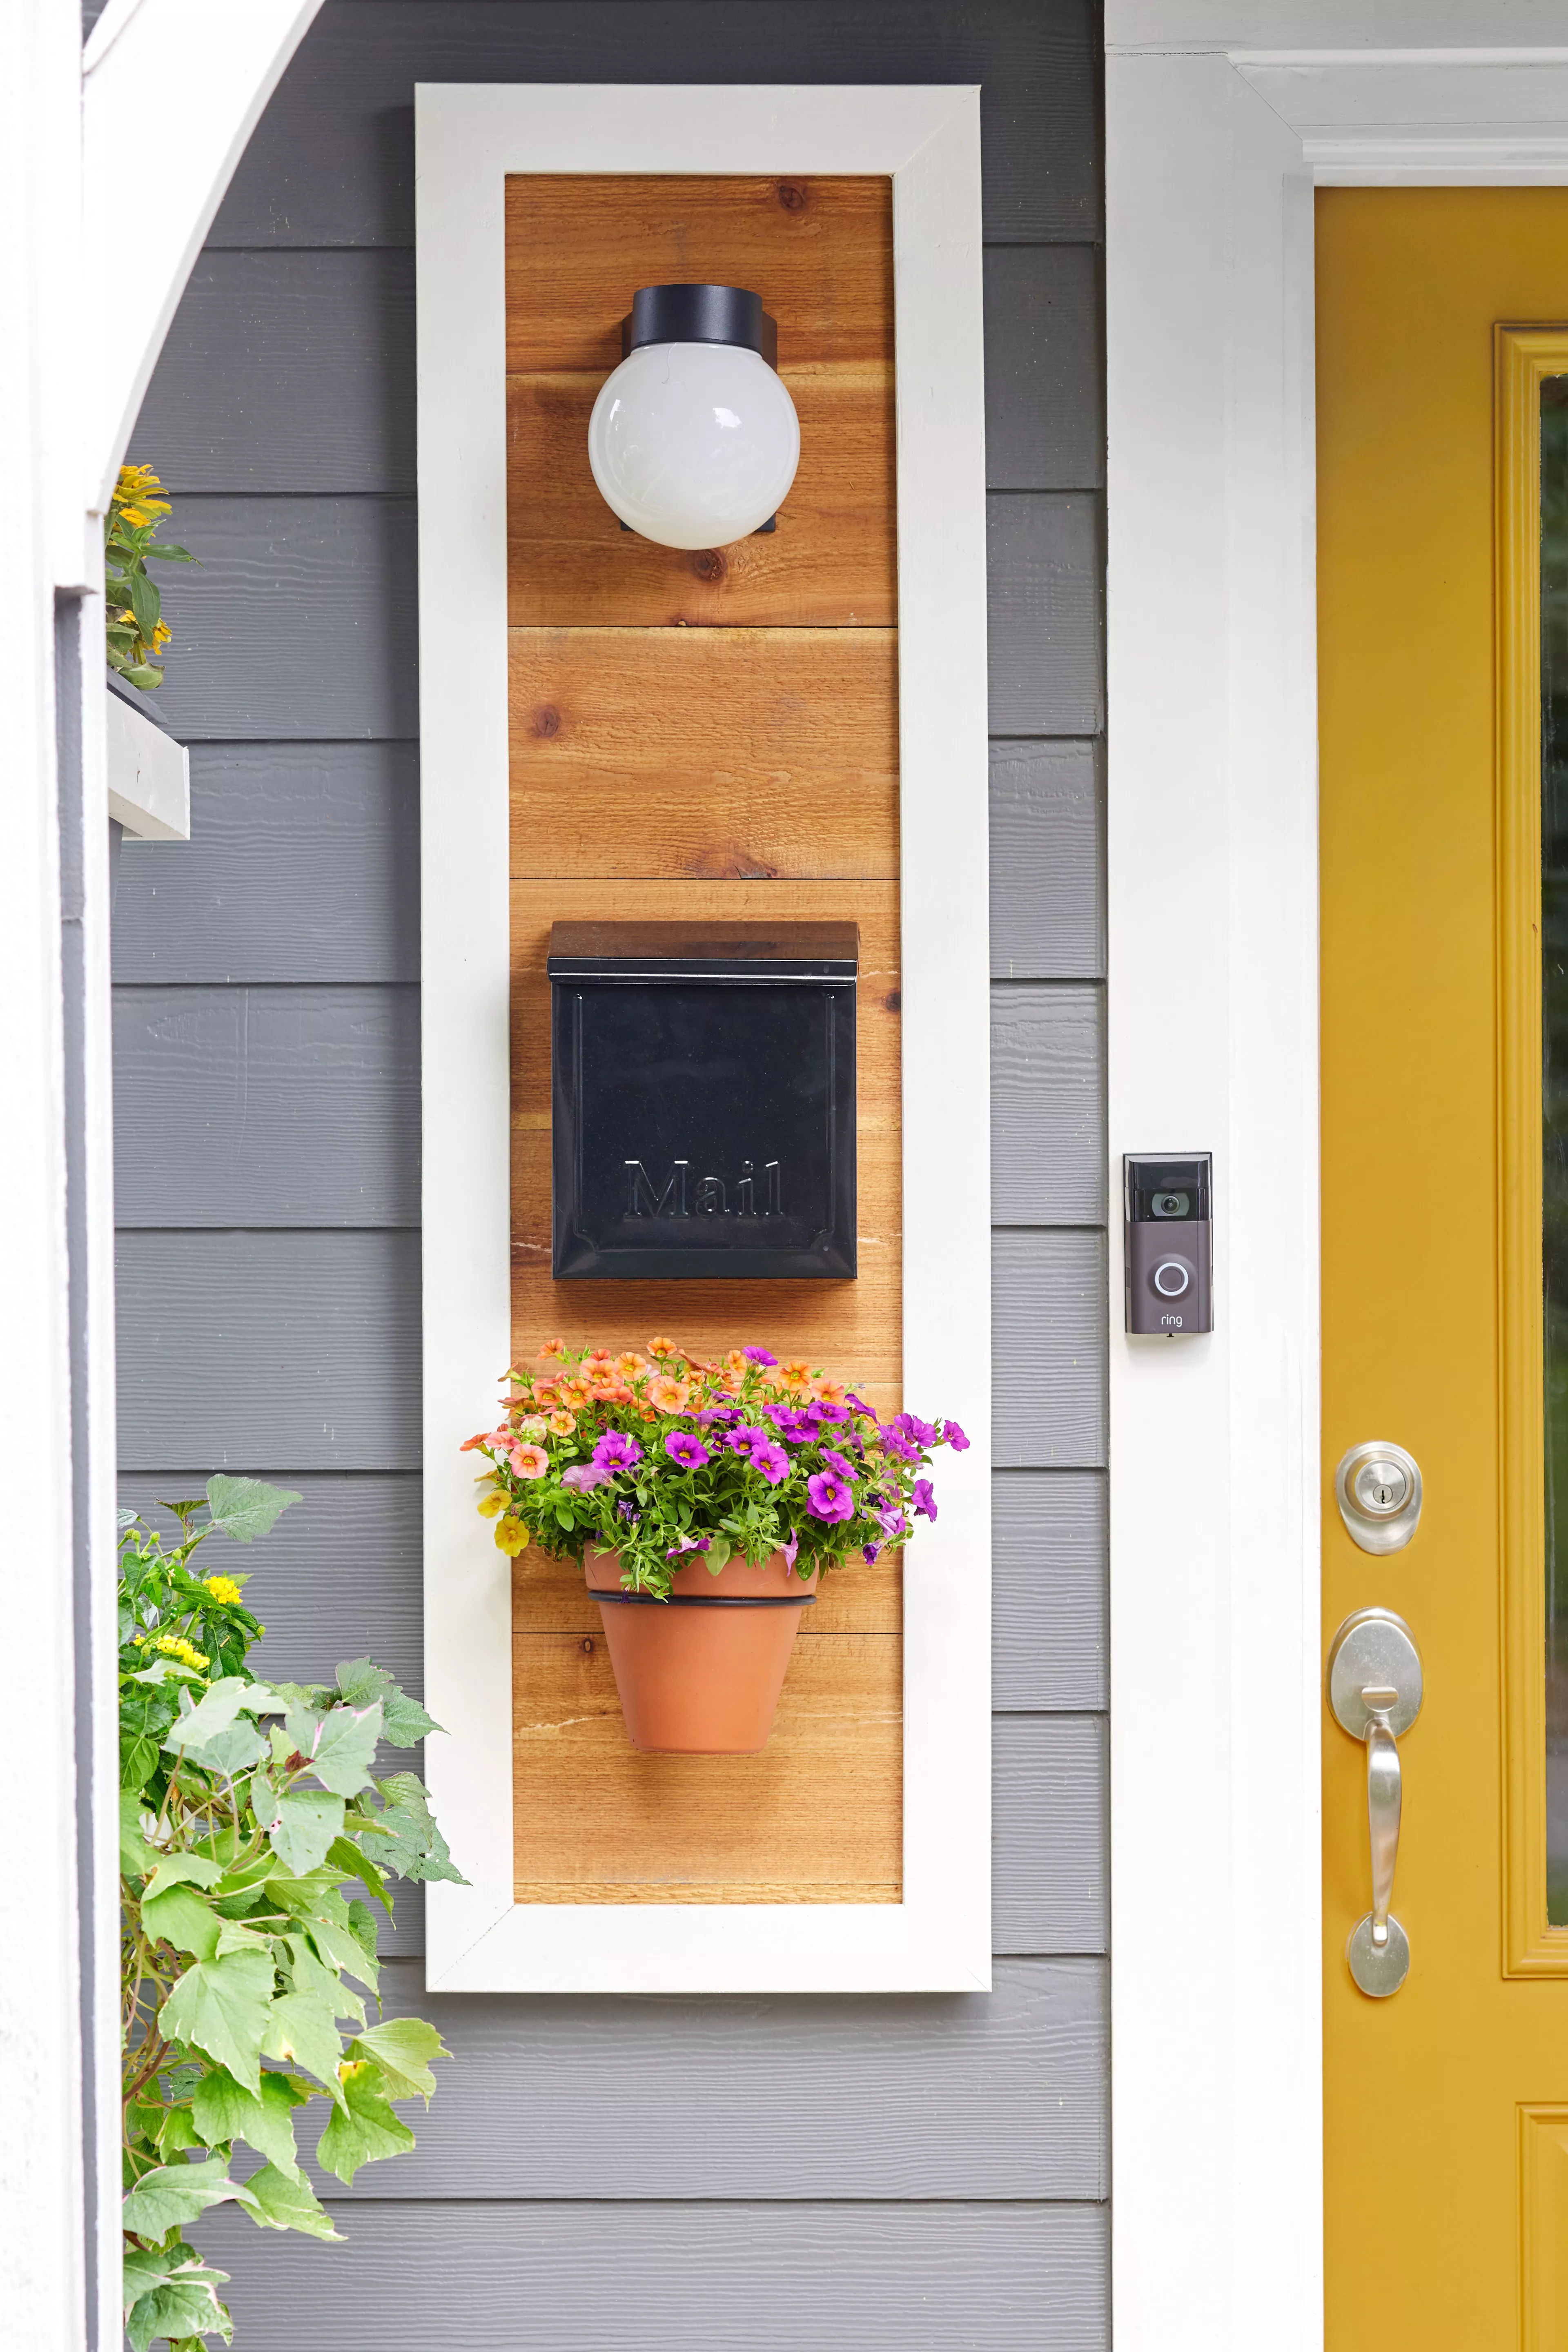
Level up your curb appeal with this outdoor project that showcases a porch light, mailbox, and a small flowerpot. Utilize wood boards to create the base, cutting a hole to account for the light fixture. Once mounted, install the mailbox and planter.
Vertical Succulent Garden
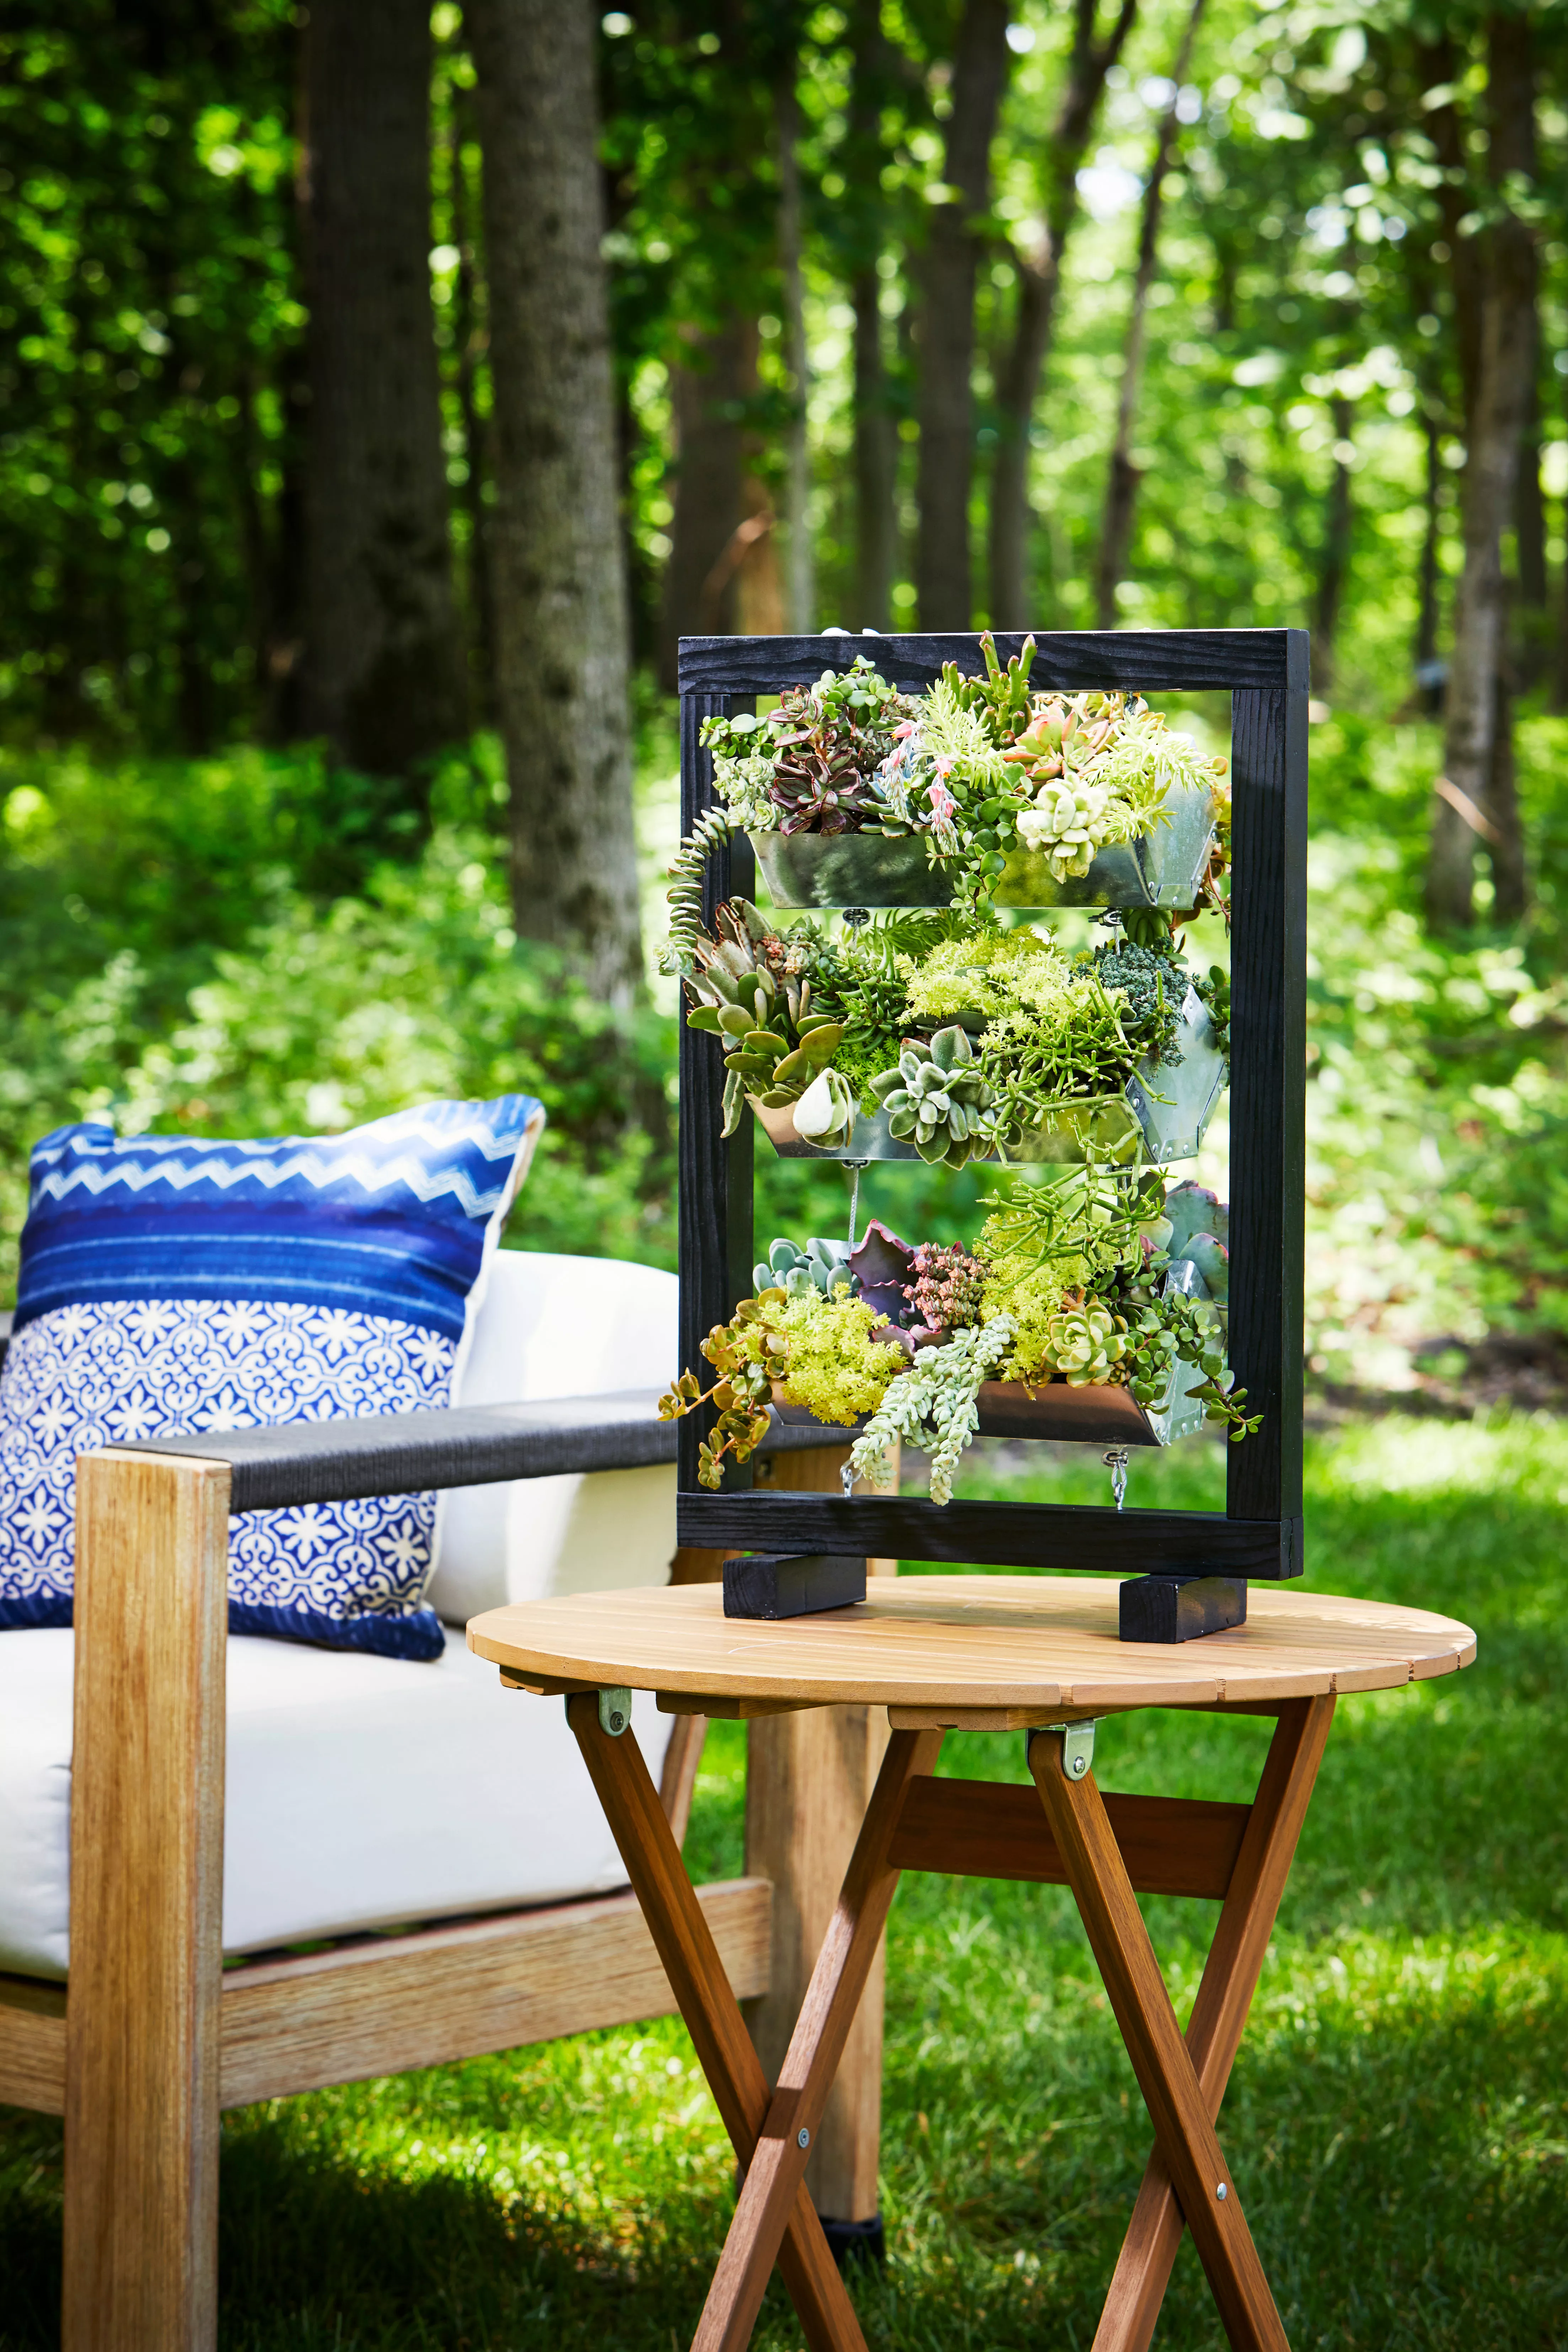
A freestanding frame makes succulents look like a work of art. To create this project, use screw eyes, galvanized cable, and a frame to hold three duct elbows in place. Place the screw eyes along the insides of the frame, and feed the galvanized cable through the screw eyes and the loops on the duct elbows. Once secured, fill the duct elbows with soil or gravel and your favorite combinations of succulents.
House Number Container
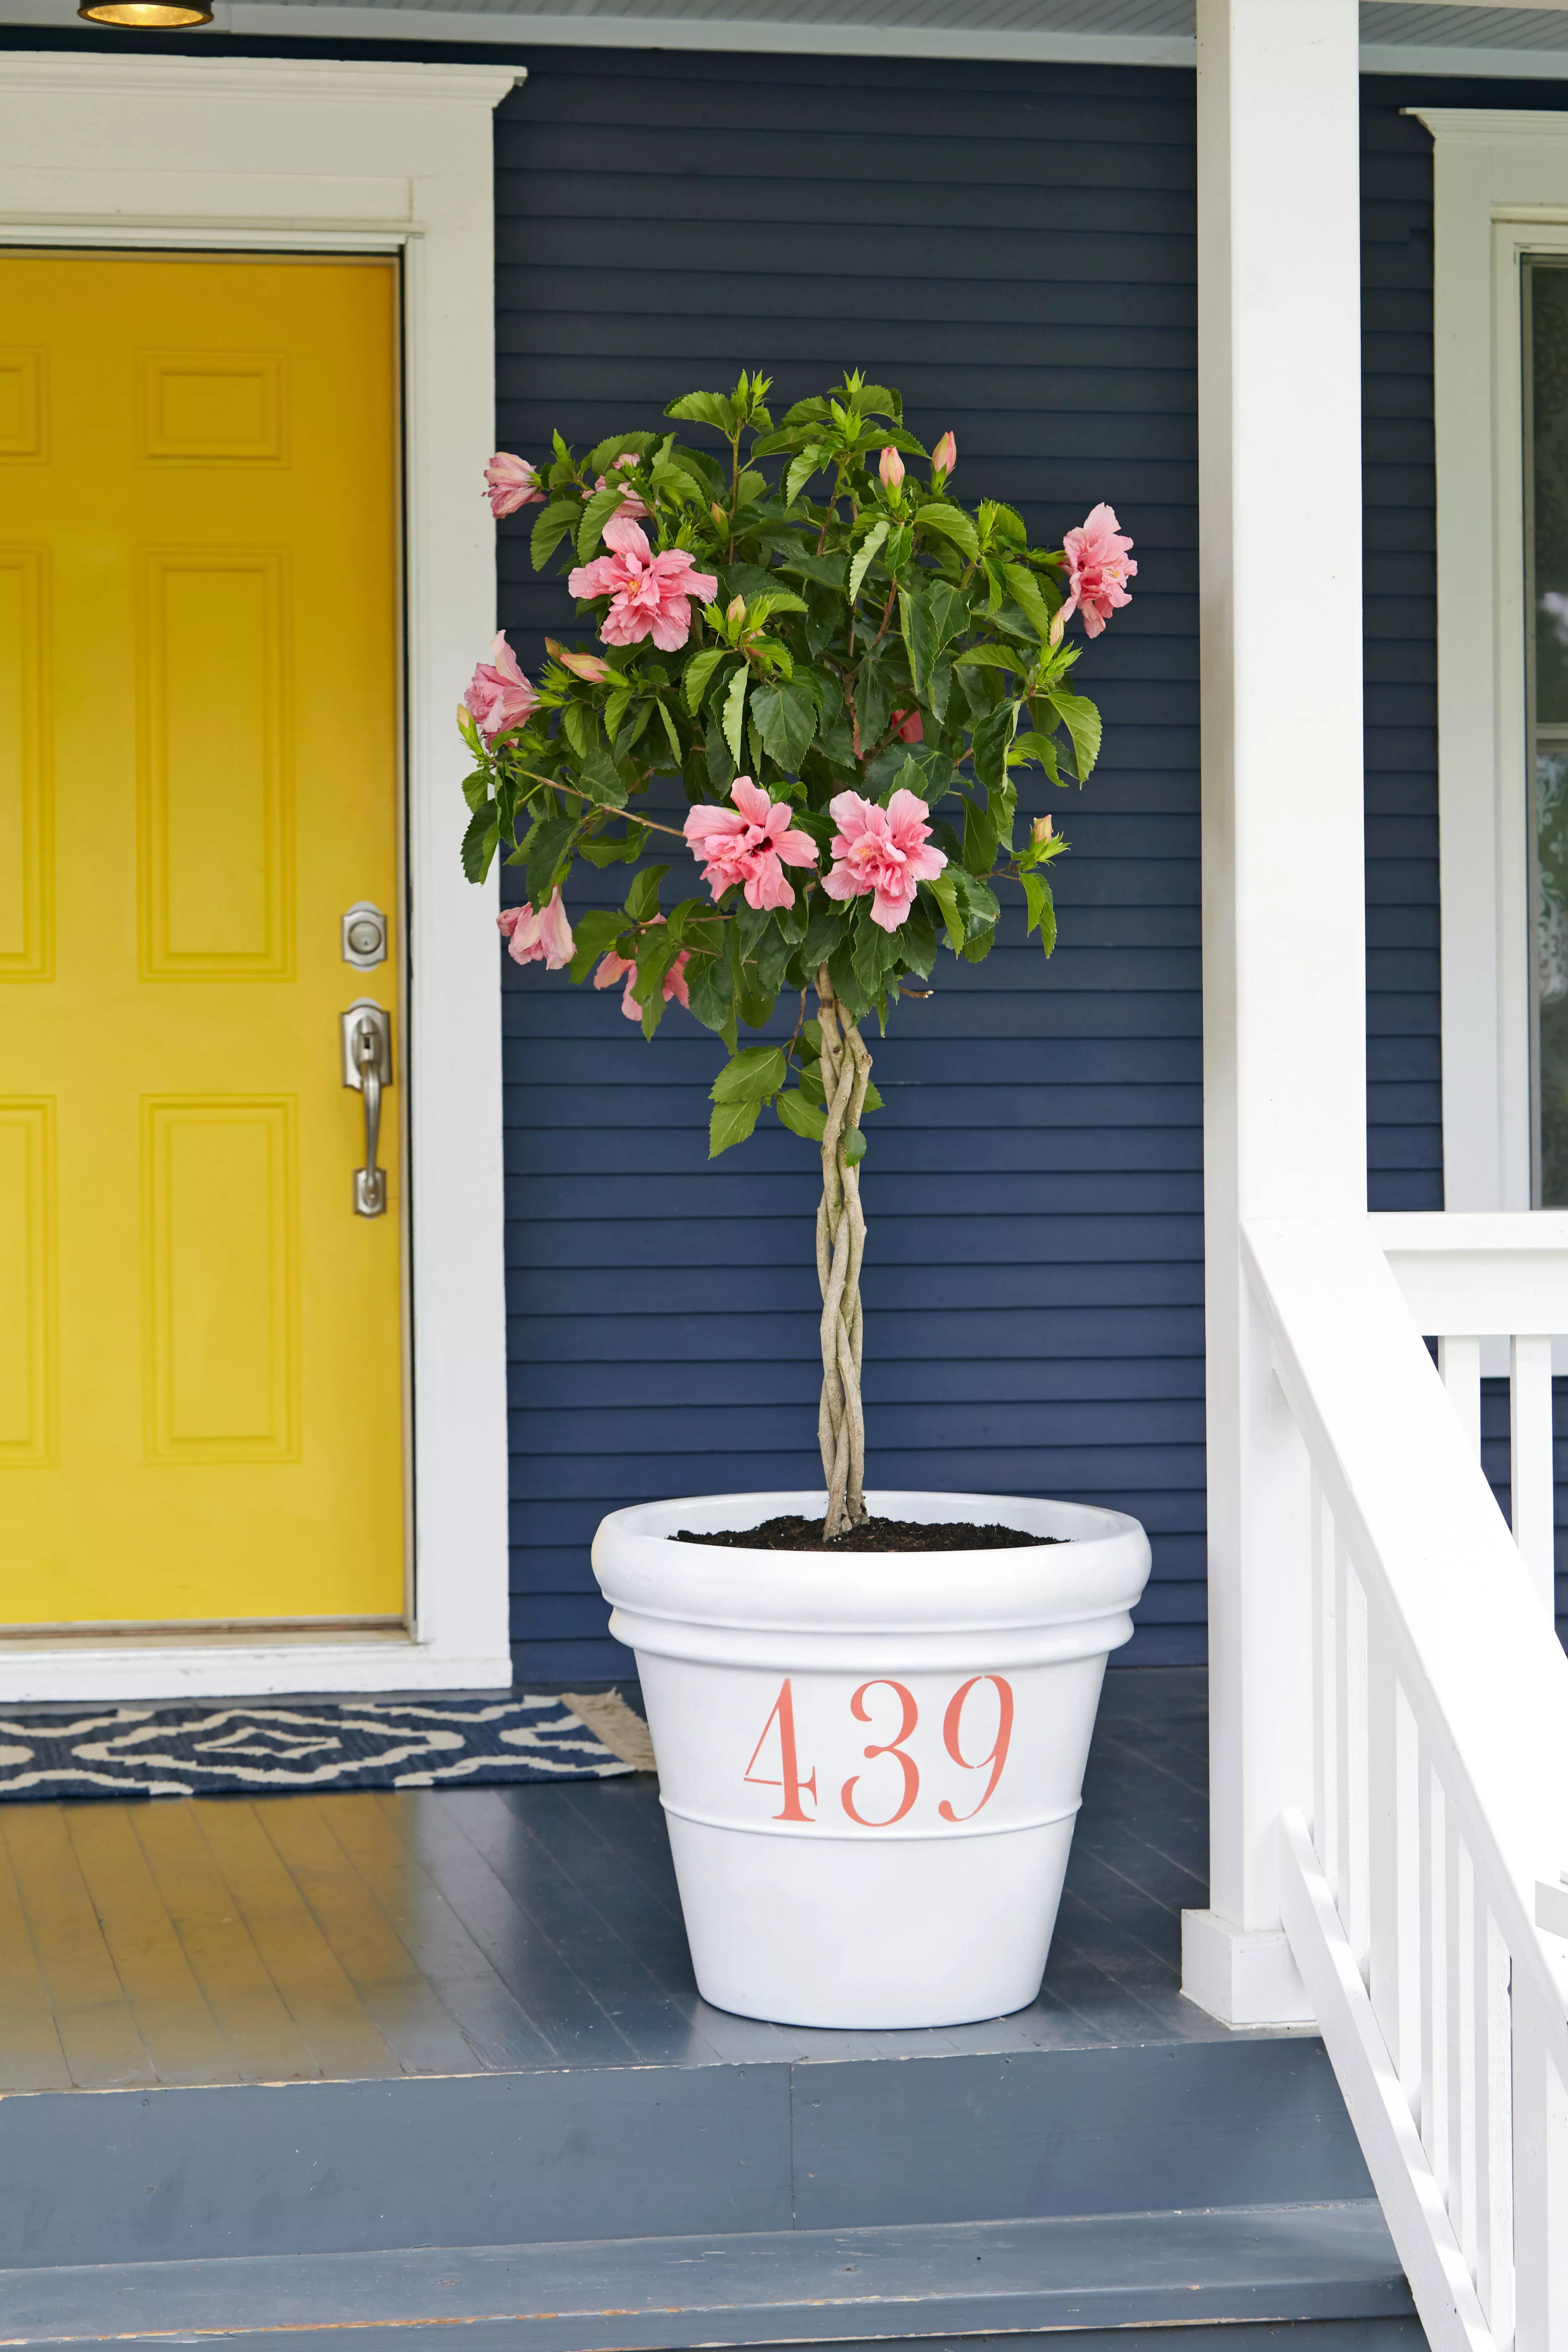
This DIY outdoor project doubles as house numbers and a planter. Paint a pot white, and use a brighter color to stencil on your house numbers. Then fill the pot with your favorite blooms for a fresh take on traditional house numbers.
Pebble Stepping Stones
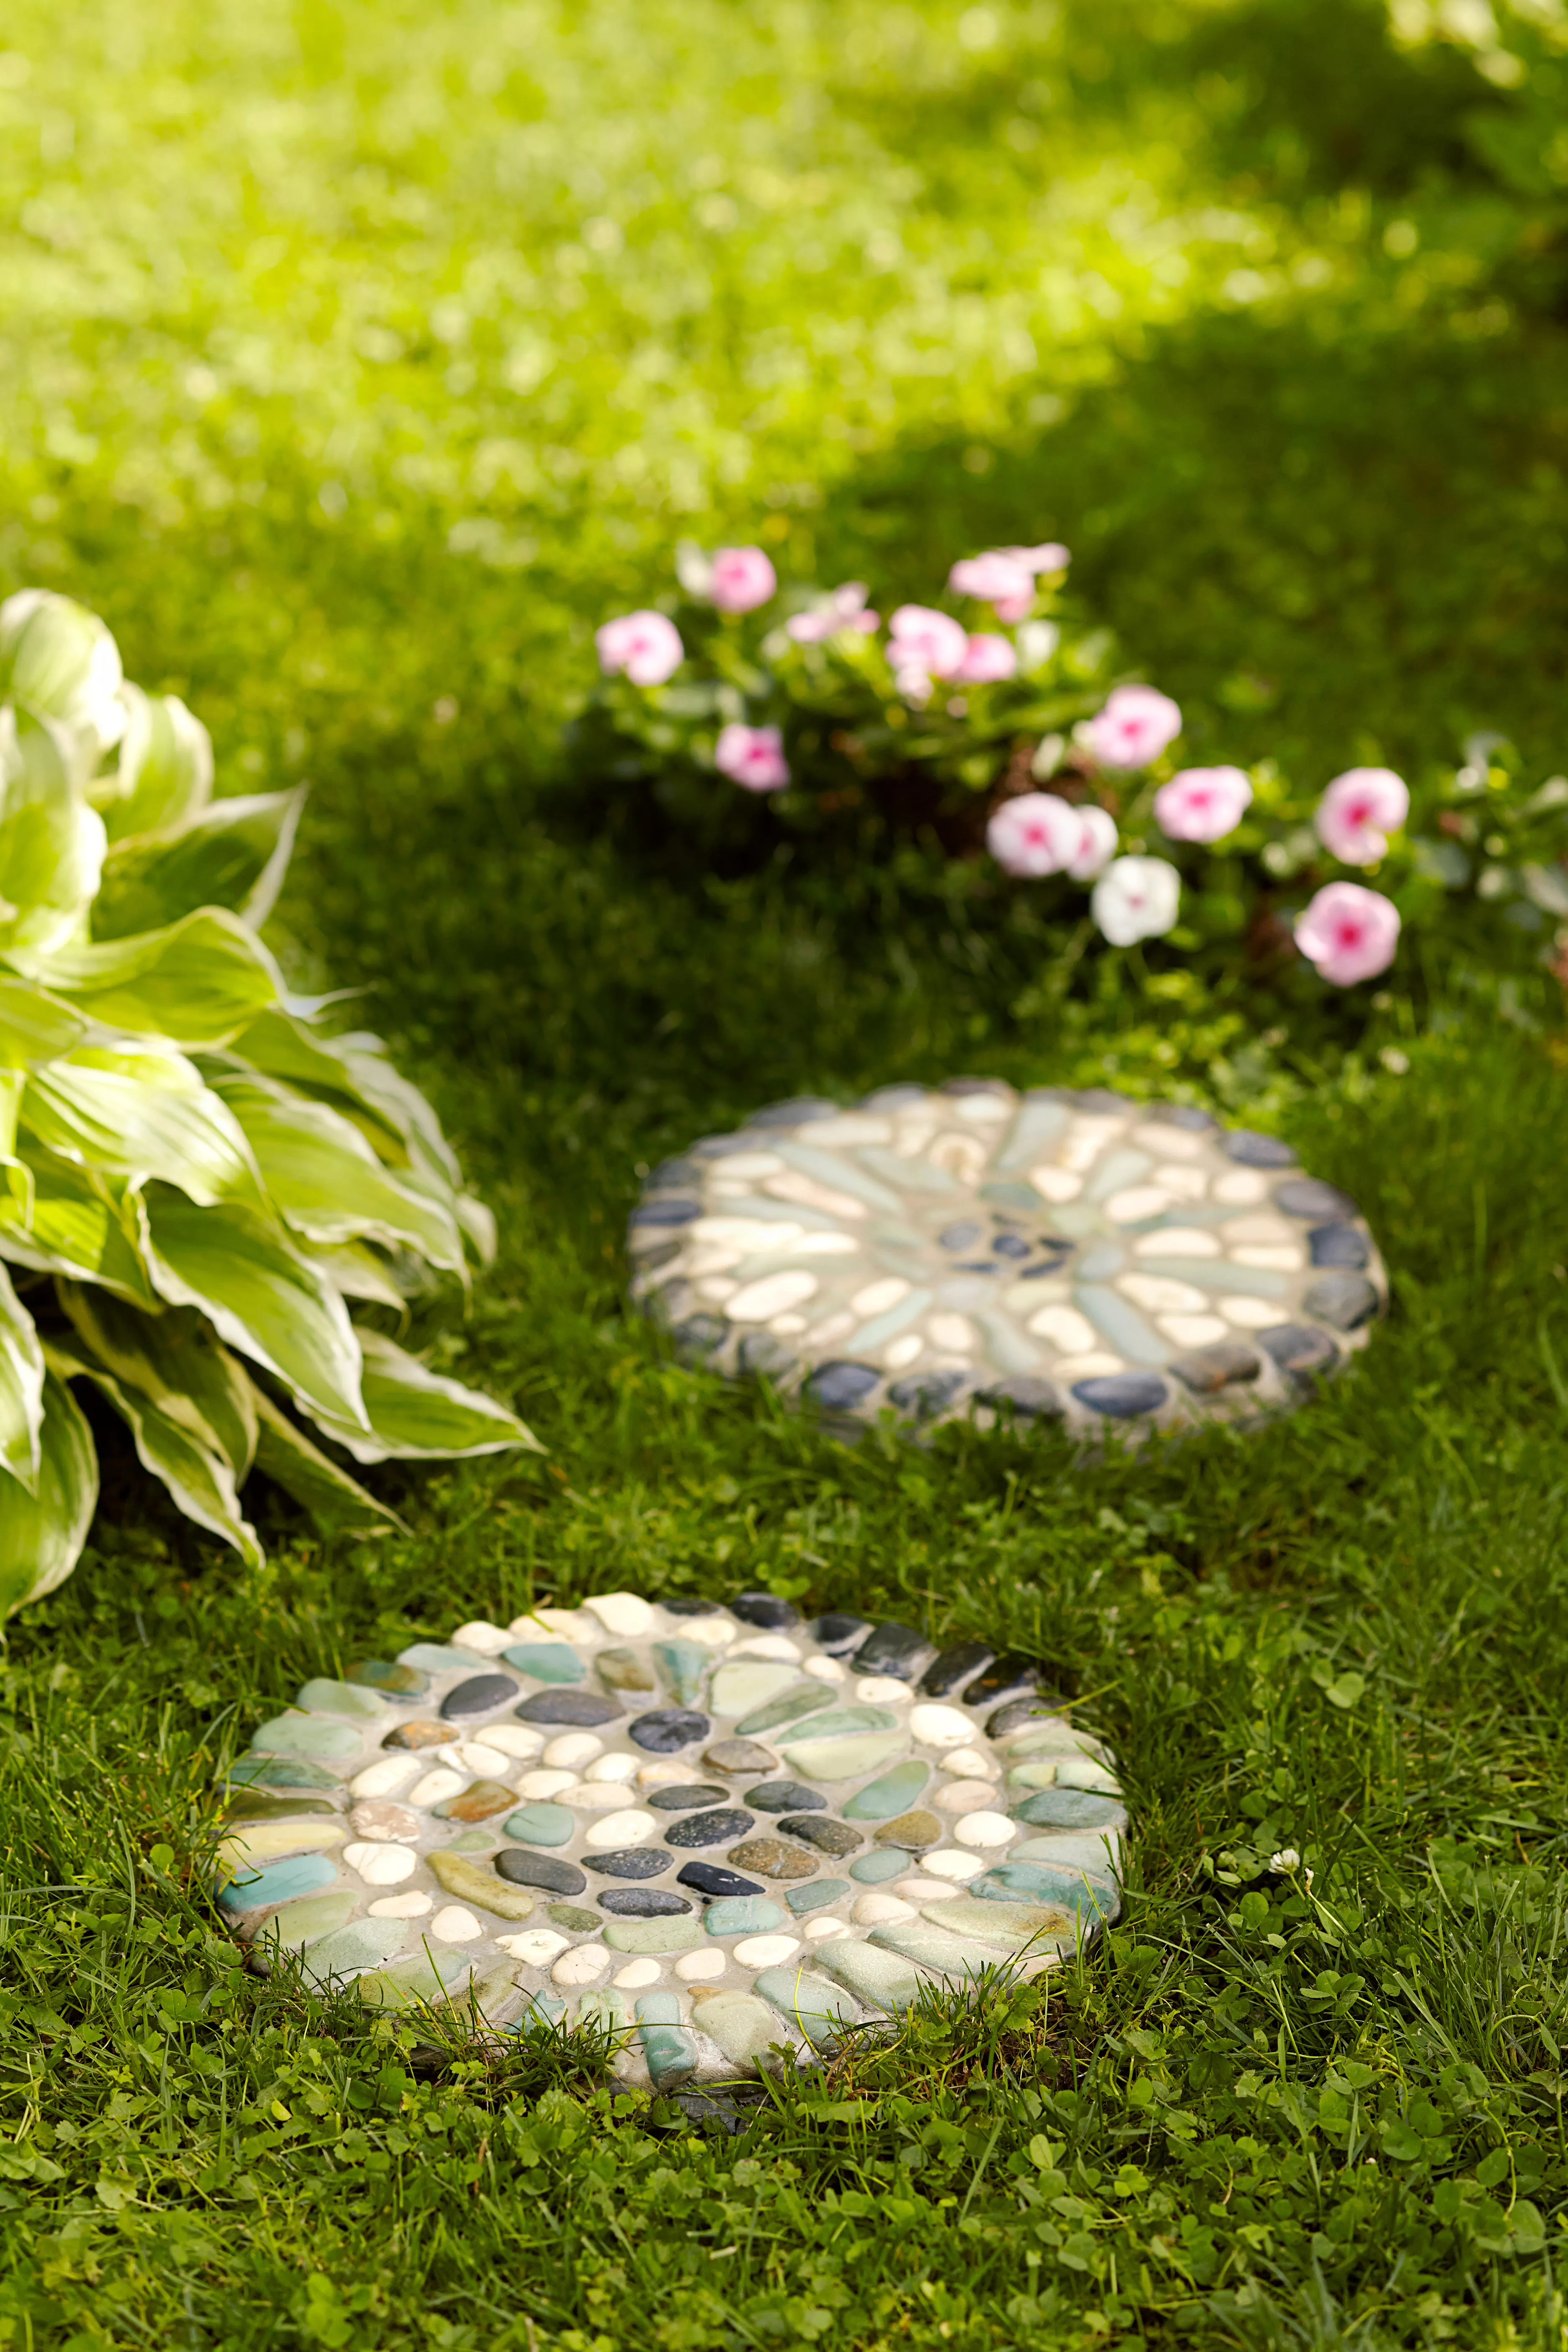
These stepping stones look intricate and expensive, but they’re easy and affordable to make yourself. Using a concrete stepping stone and mortar, arrange the pebbles in a design of your choice. Leave the mortar to cure for 48 hours before placing the stones on your lawn.
Welcoming Wreath
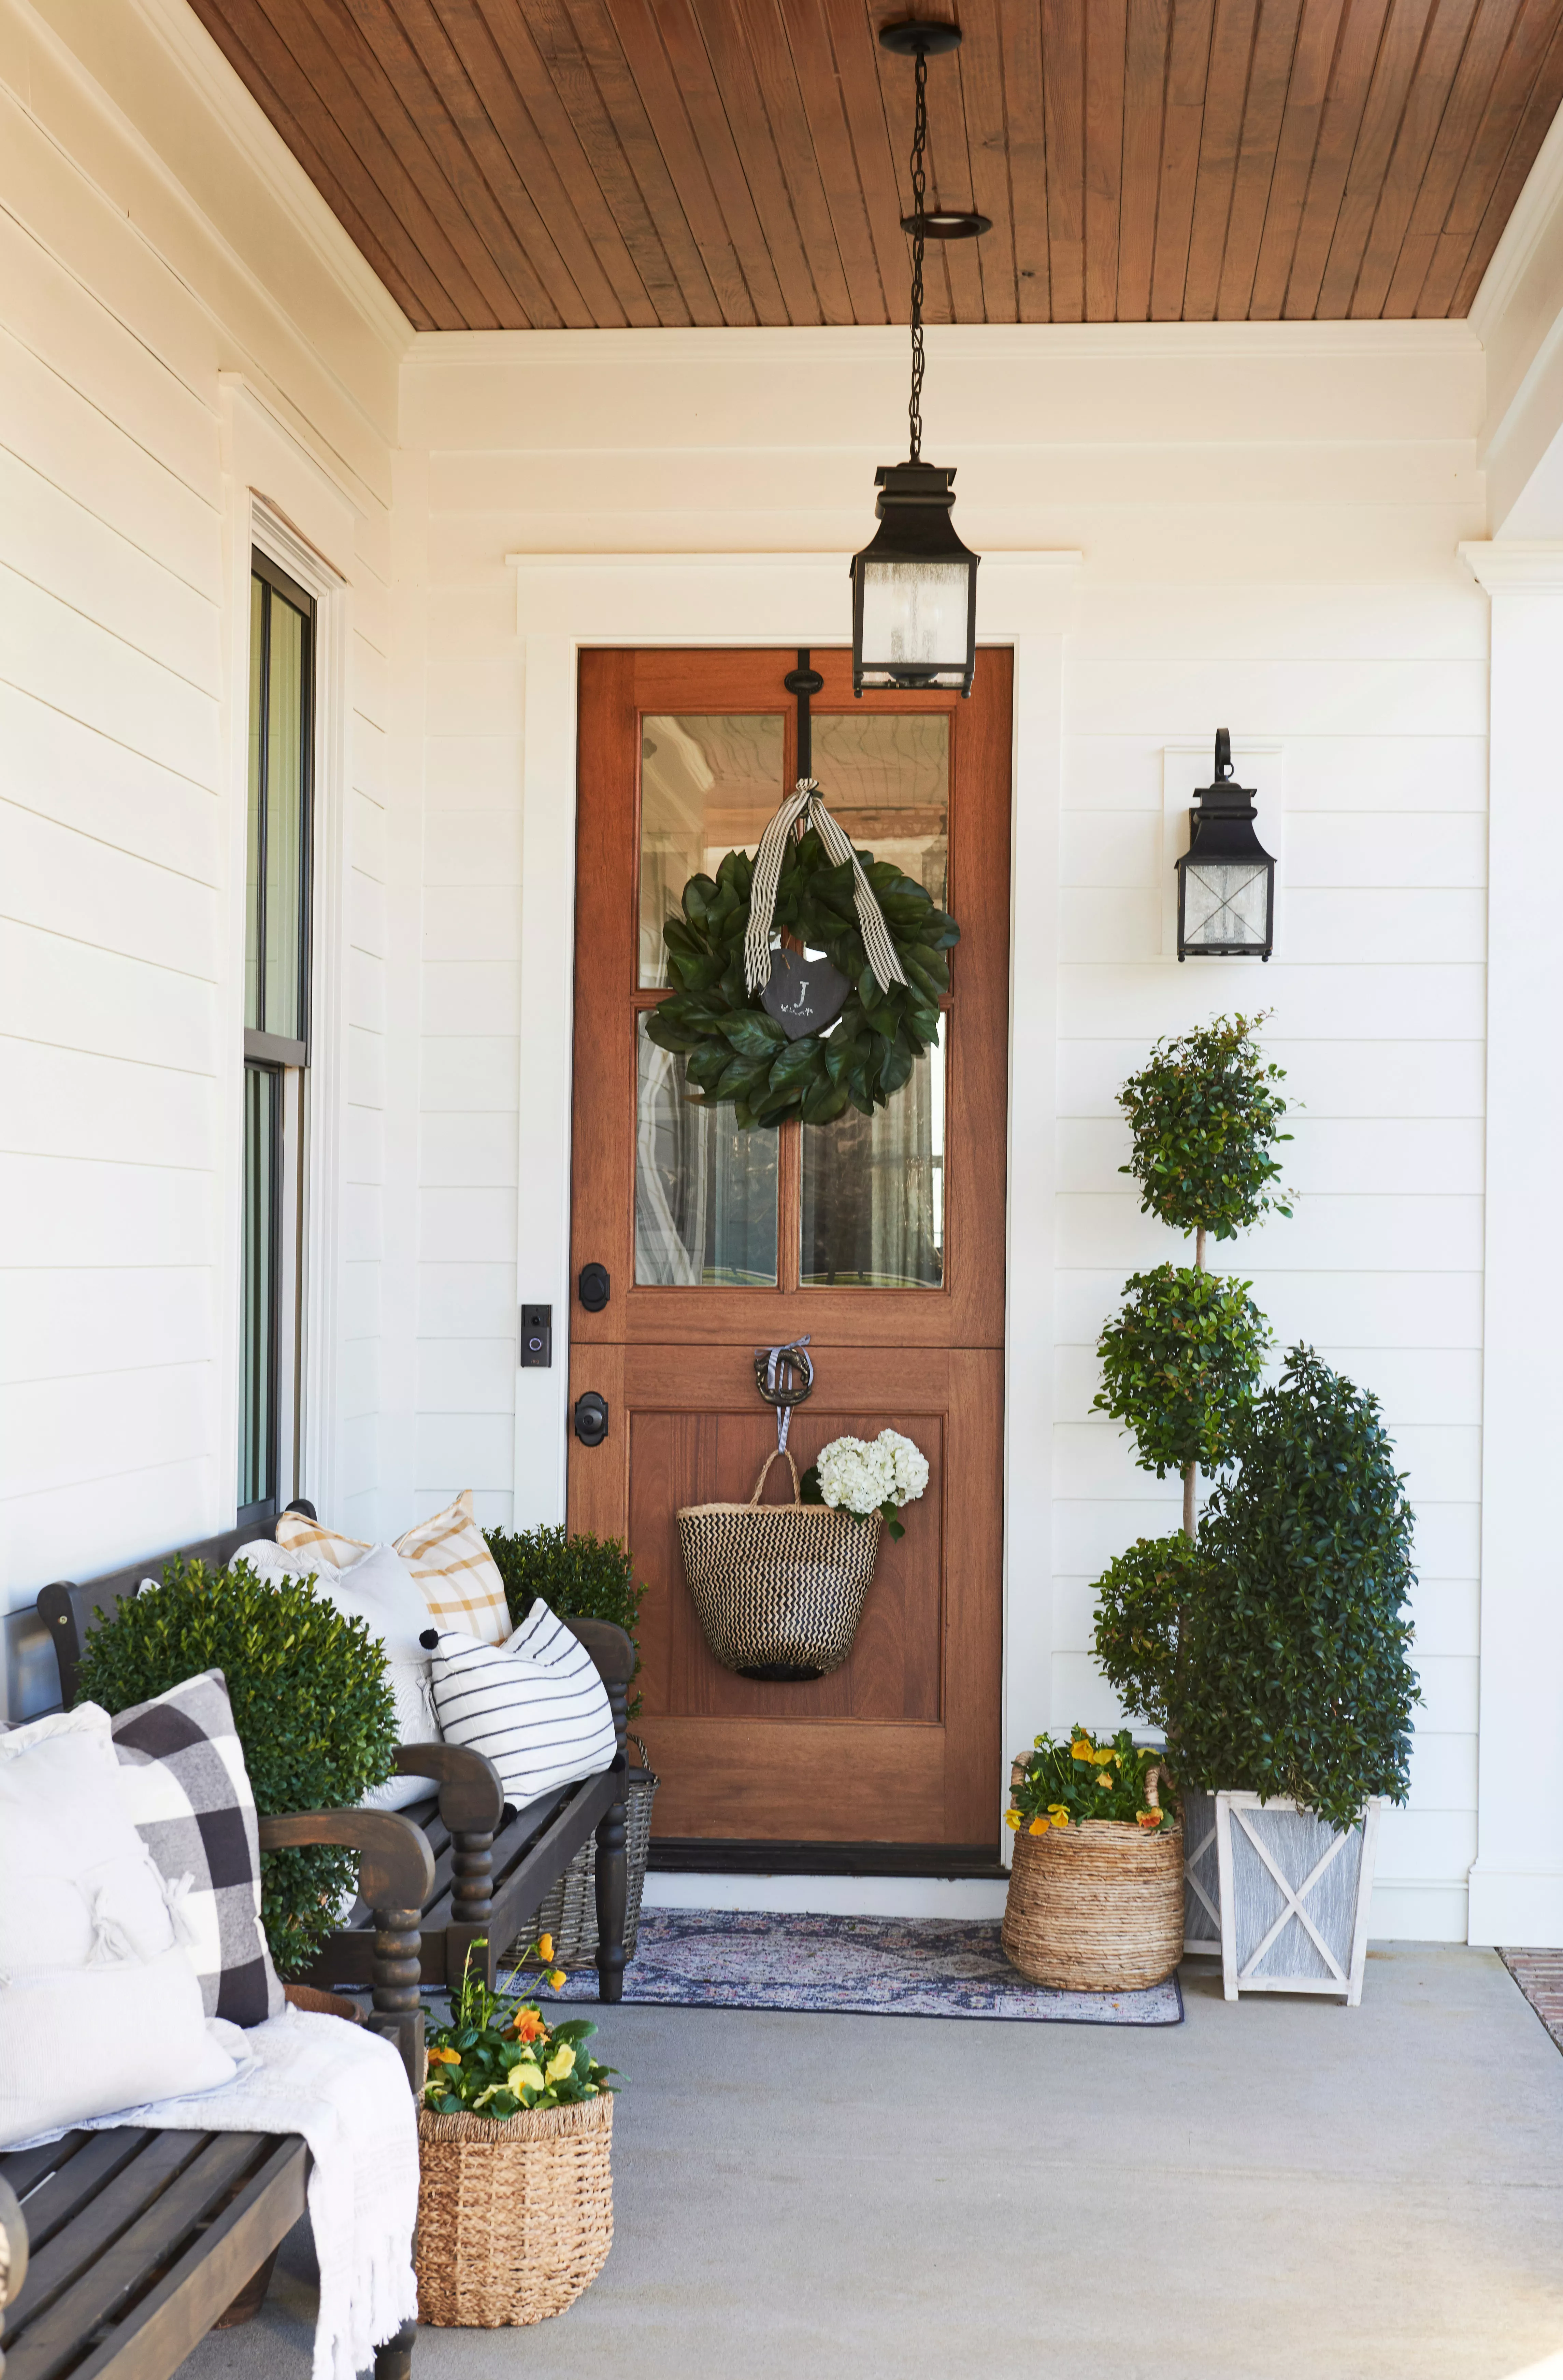
Give your guests a warm welcome by hanging a homemade wreath on your front door. Using a wreath form and floral wire, wrap your favorite leaves and flowers around the form, creating layers as you go. Consider sticking with a green magnolia leaf base so that your wreath can stay up year-round. Continue until your wreath is your desired size. Attach ribbon or contrasting flowers to match the season’s colors.
Hanging Planter Platform

Display small potted plants on a hanging platform. Drill six equally spaced holes through a live-edge circle round, using a bit large enough to make a hole you can thread twine through. Determine the hanging height, then double it and add about a foot. Cut three pieces of twine to this length. Thread twine through three drilled holes, leaving about 4 inches below the round, then thread a wood bead onto the short end and knot. Thread the other end of the twine through the opposite hole, add a bead, and knot. Repeat with the two remaining strands and use an S hook to hang the platform, adjusting for height.
DIY Outdoor Candle
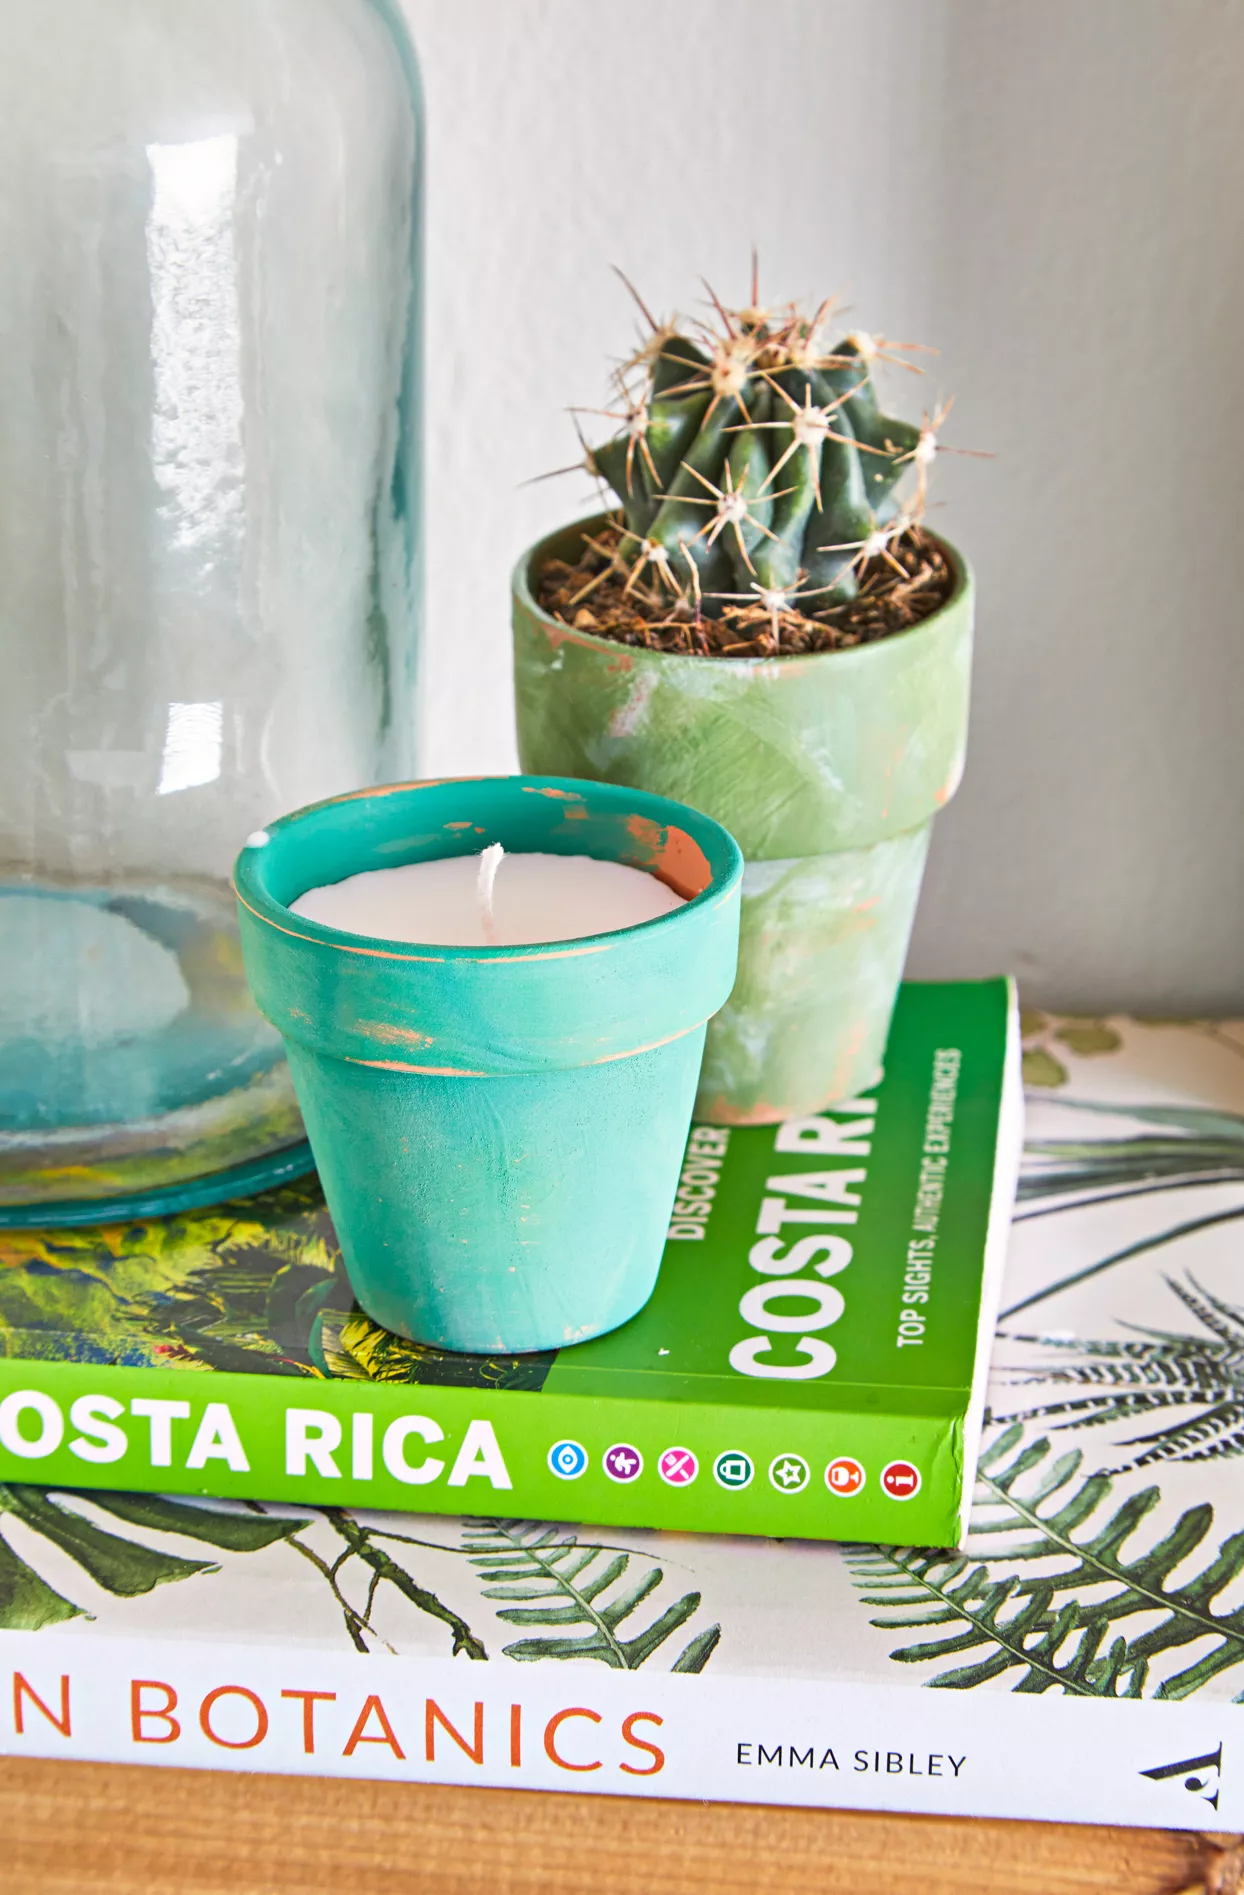
Upcycle an old terra-cotta pot into a DIY outdoor candle. Brush a coat of paint on the pot, and once it’s dry, sand it to create a rustic look. Cover the pot’s hole with a penny or pebble, then mix citronella oil, which helps to repel mosquitoes, into melted wax and pour enough in to make a candle.
DIY Outdoor Candleholders
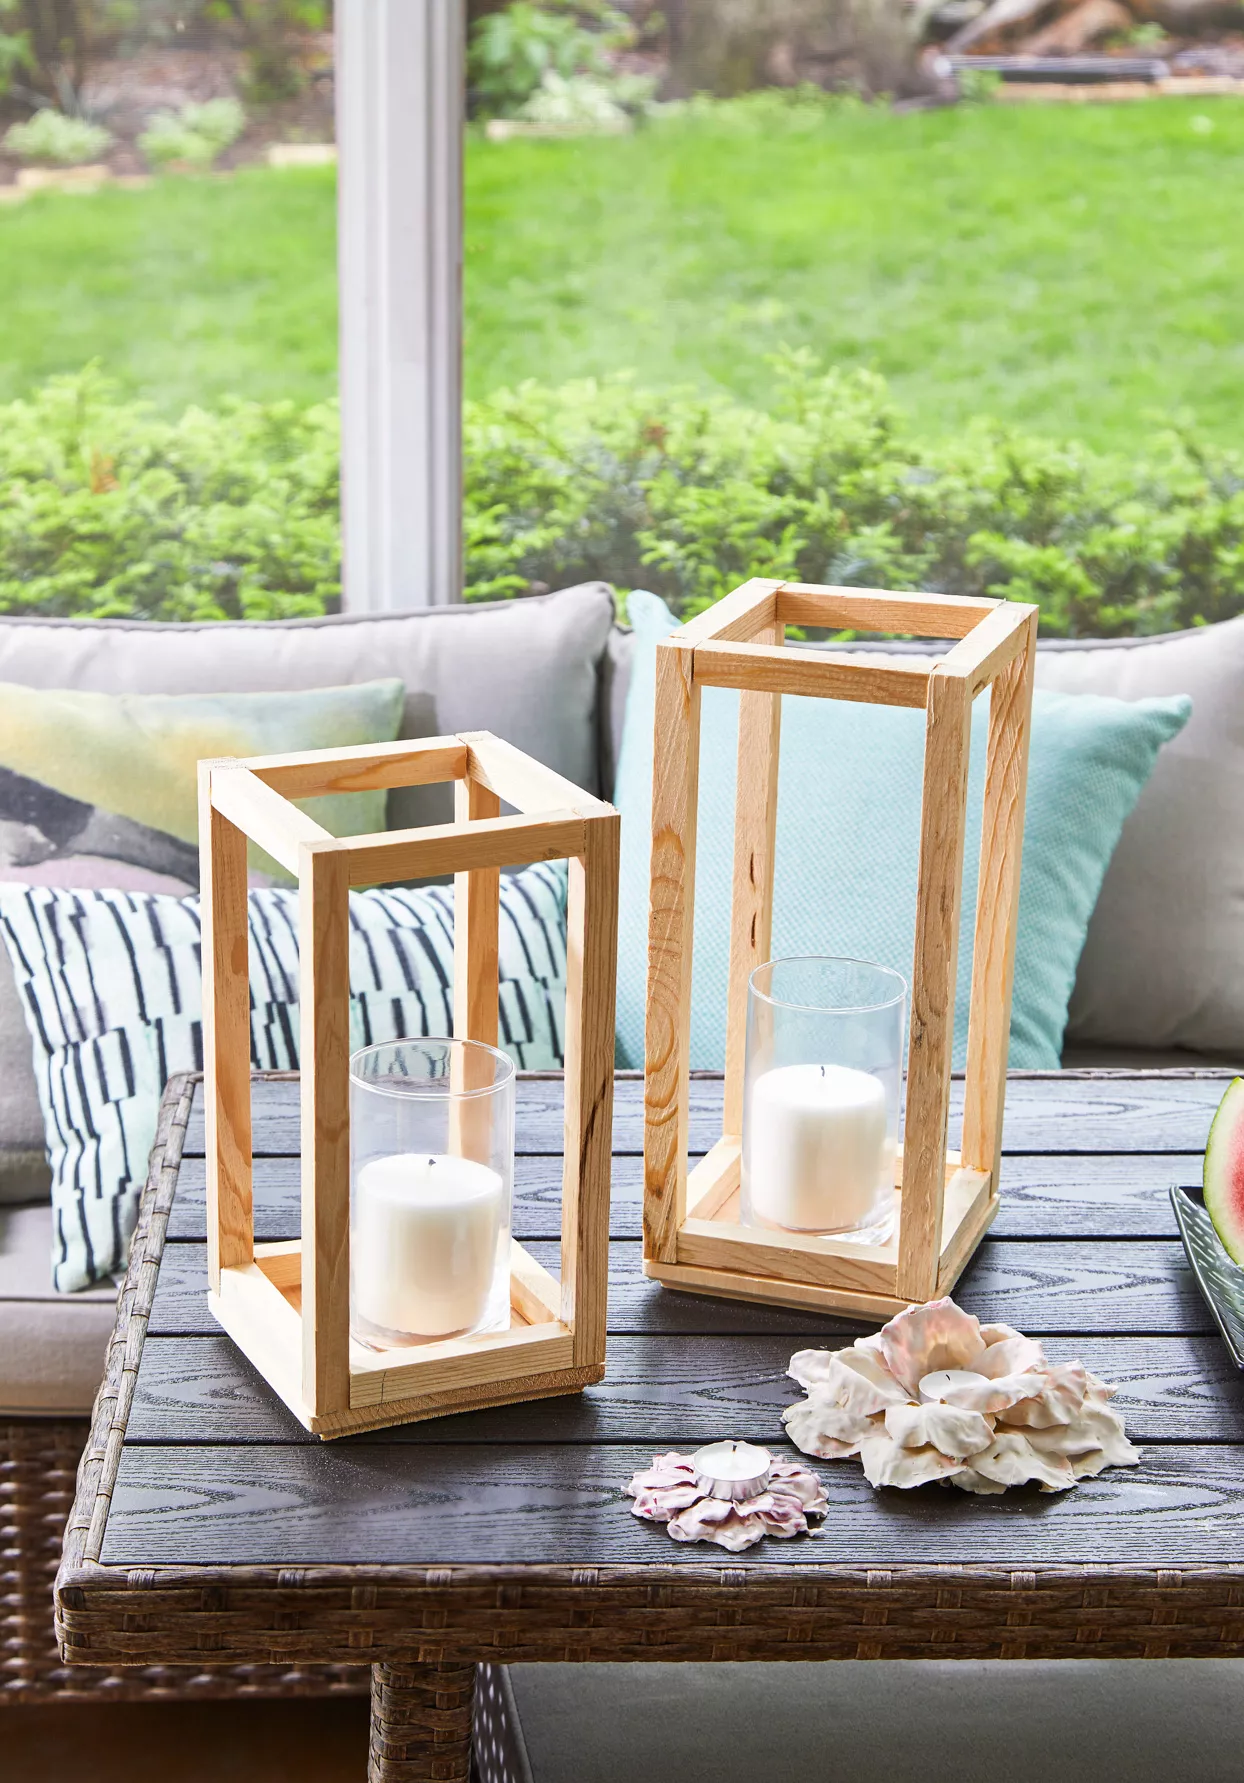
Light up your porch or patio with stylish outdoor candleholders. Screw or glue together two square wood bases, one slightly smaller than the other. Cut wood garden stakes to size—these lanterns are 12 inches and 14 inches high—removing the pointed ends. Measure and cut pieces to fit between the taller stakes, then glue them together. Once dry, drill or glue the vertical uprights to the base. Finish by adding a glass votive and candle to each.
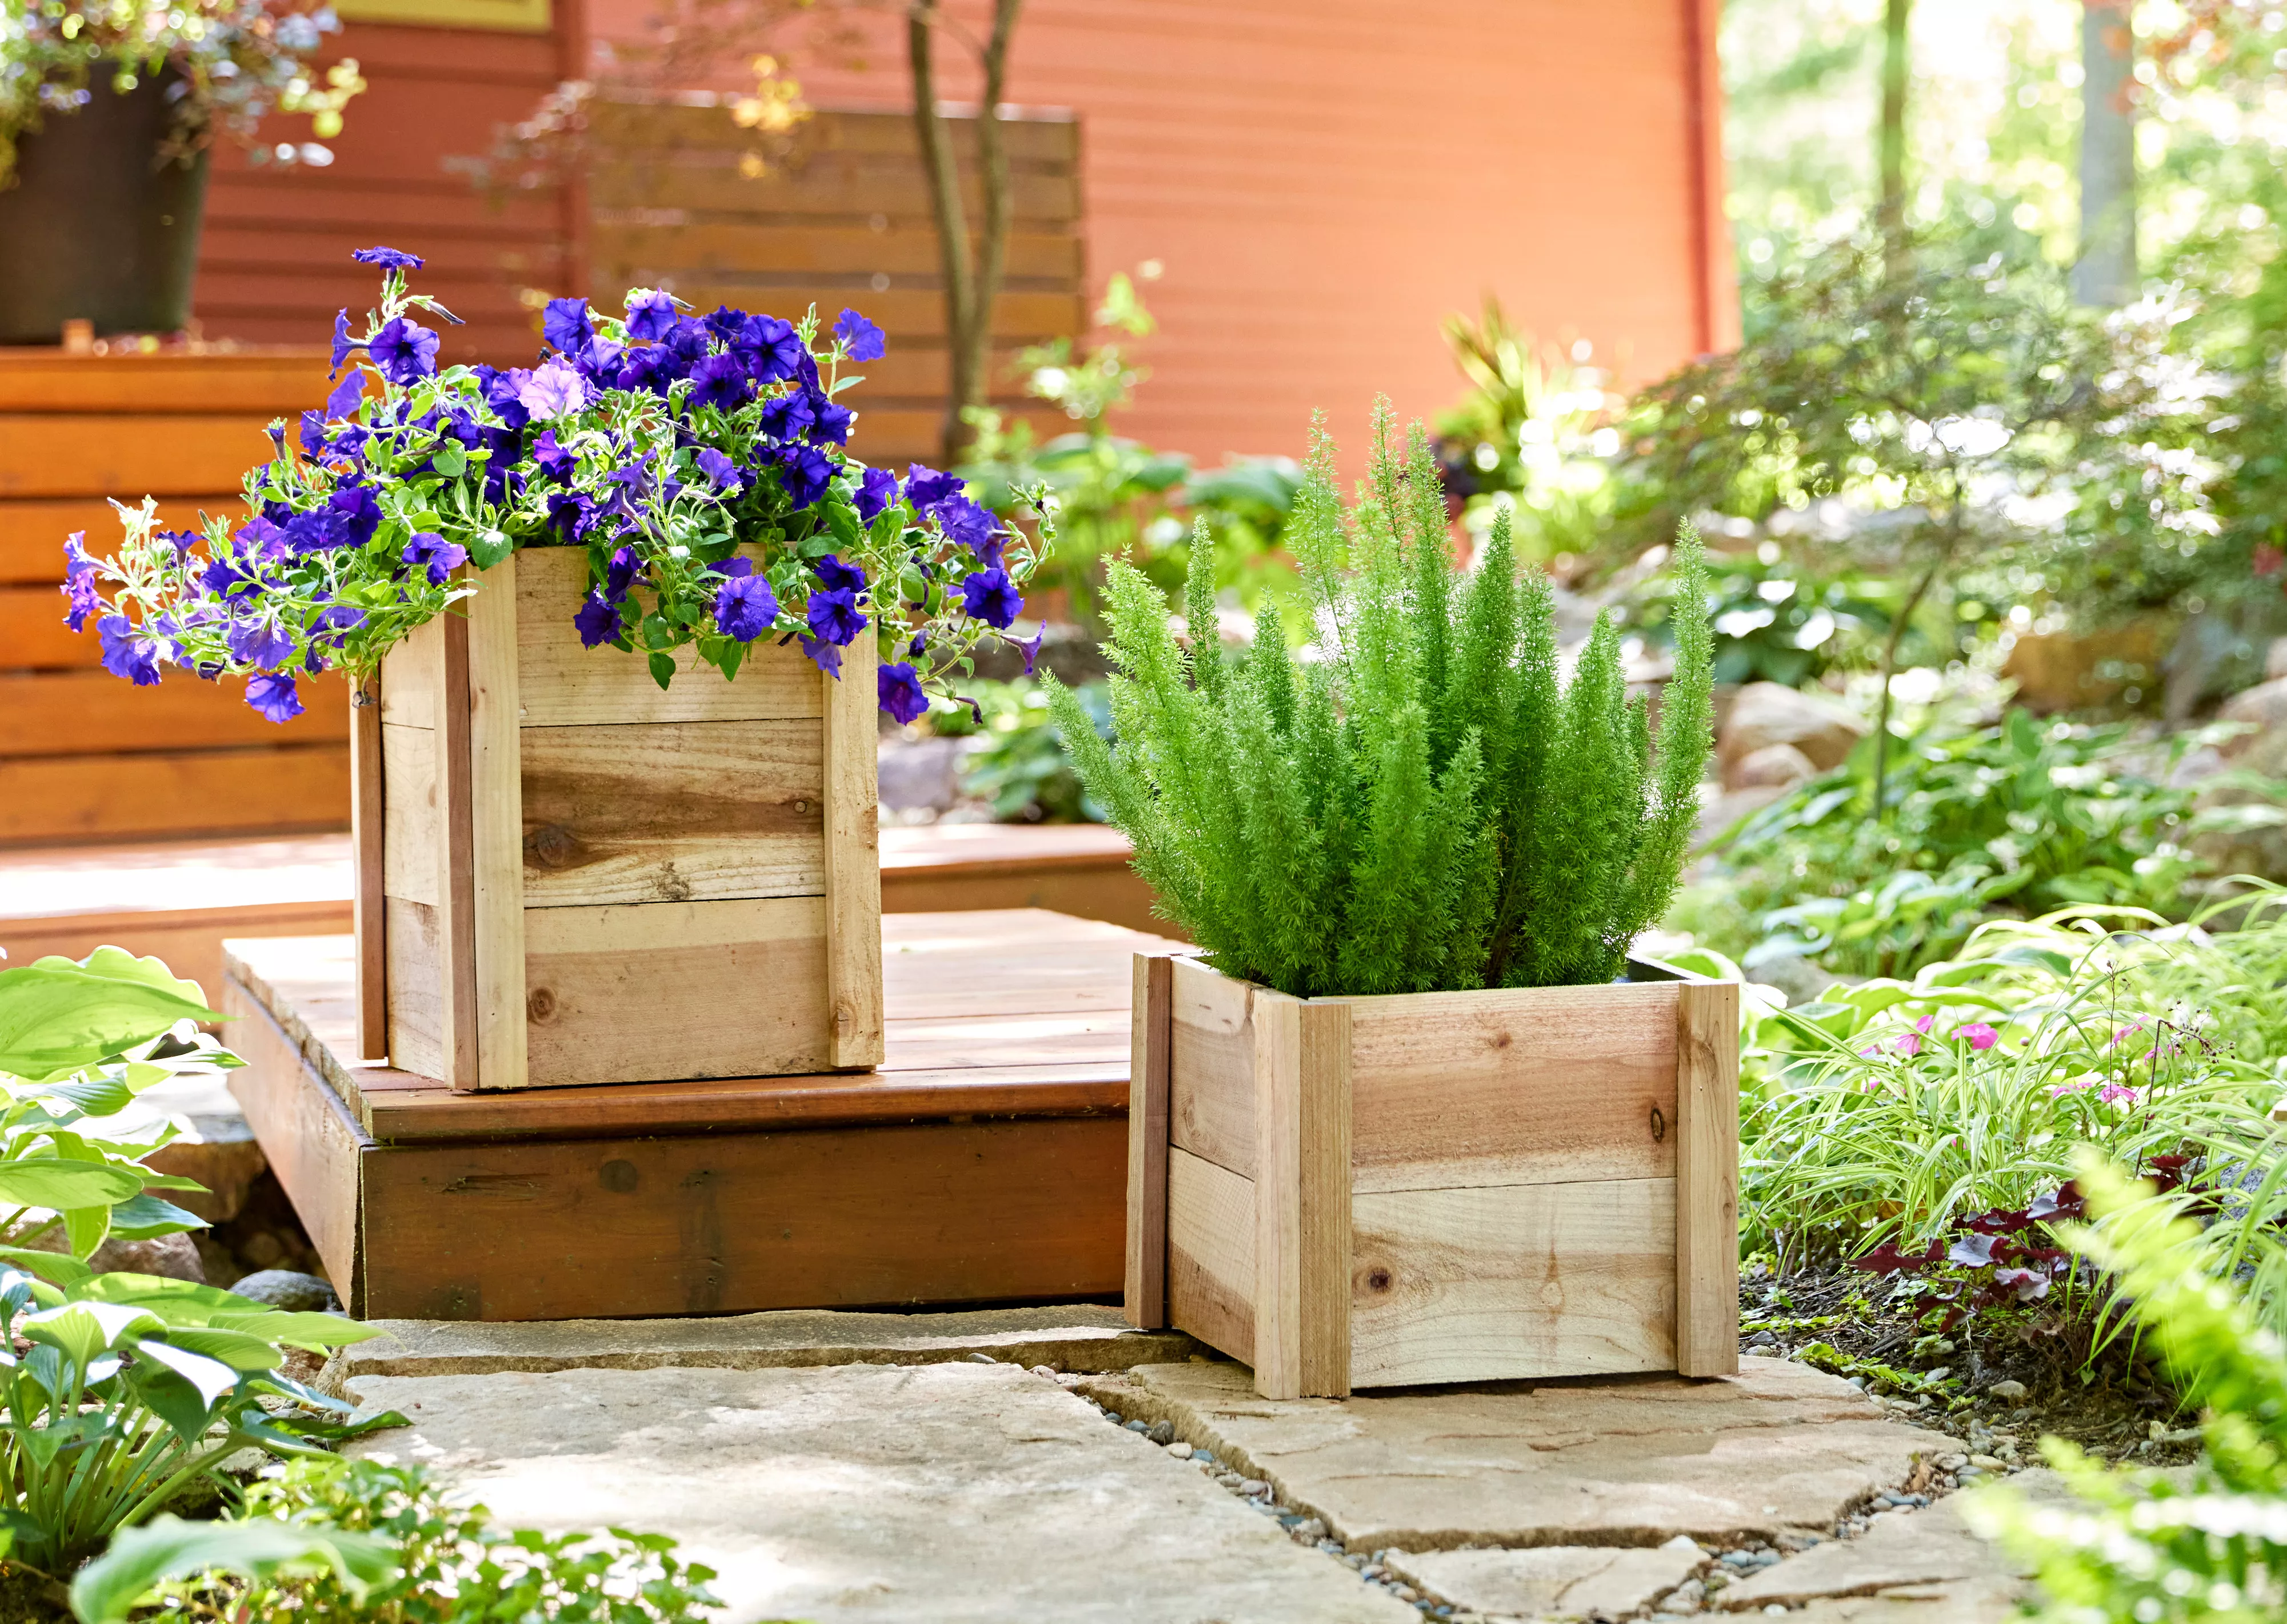
Outdoor Planter Boxes
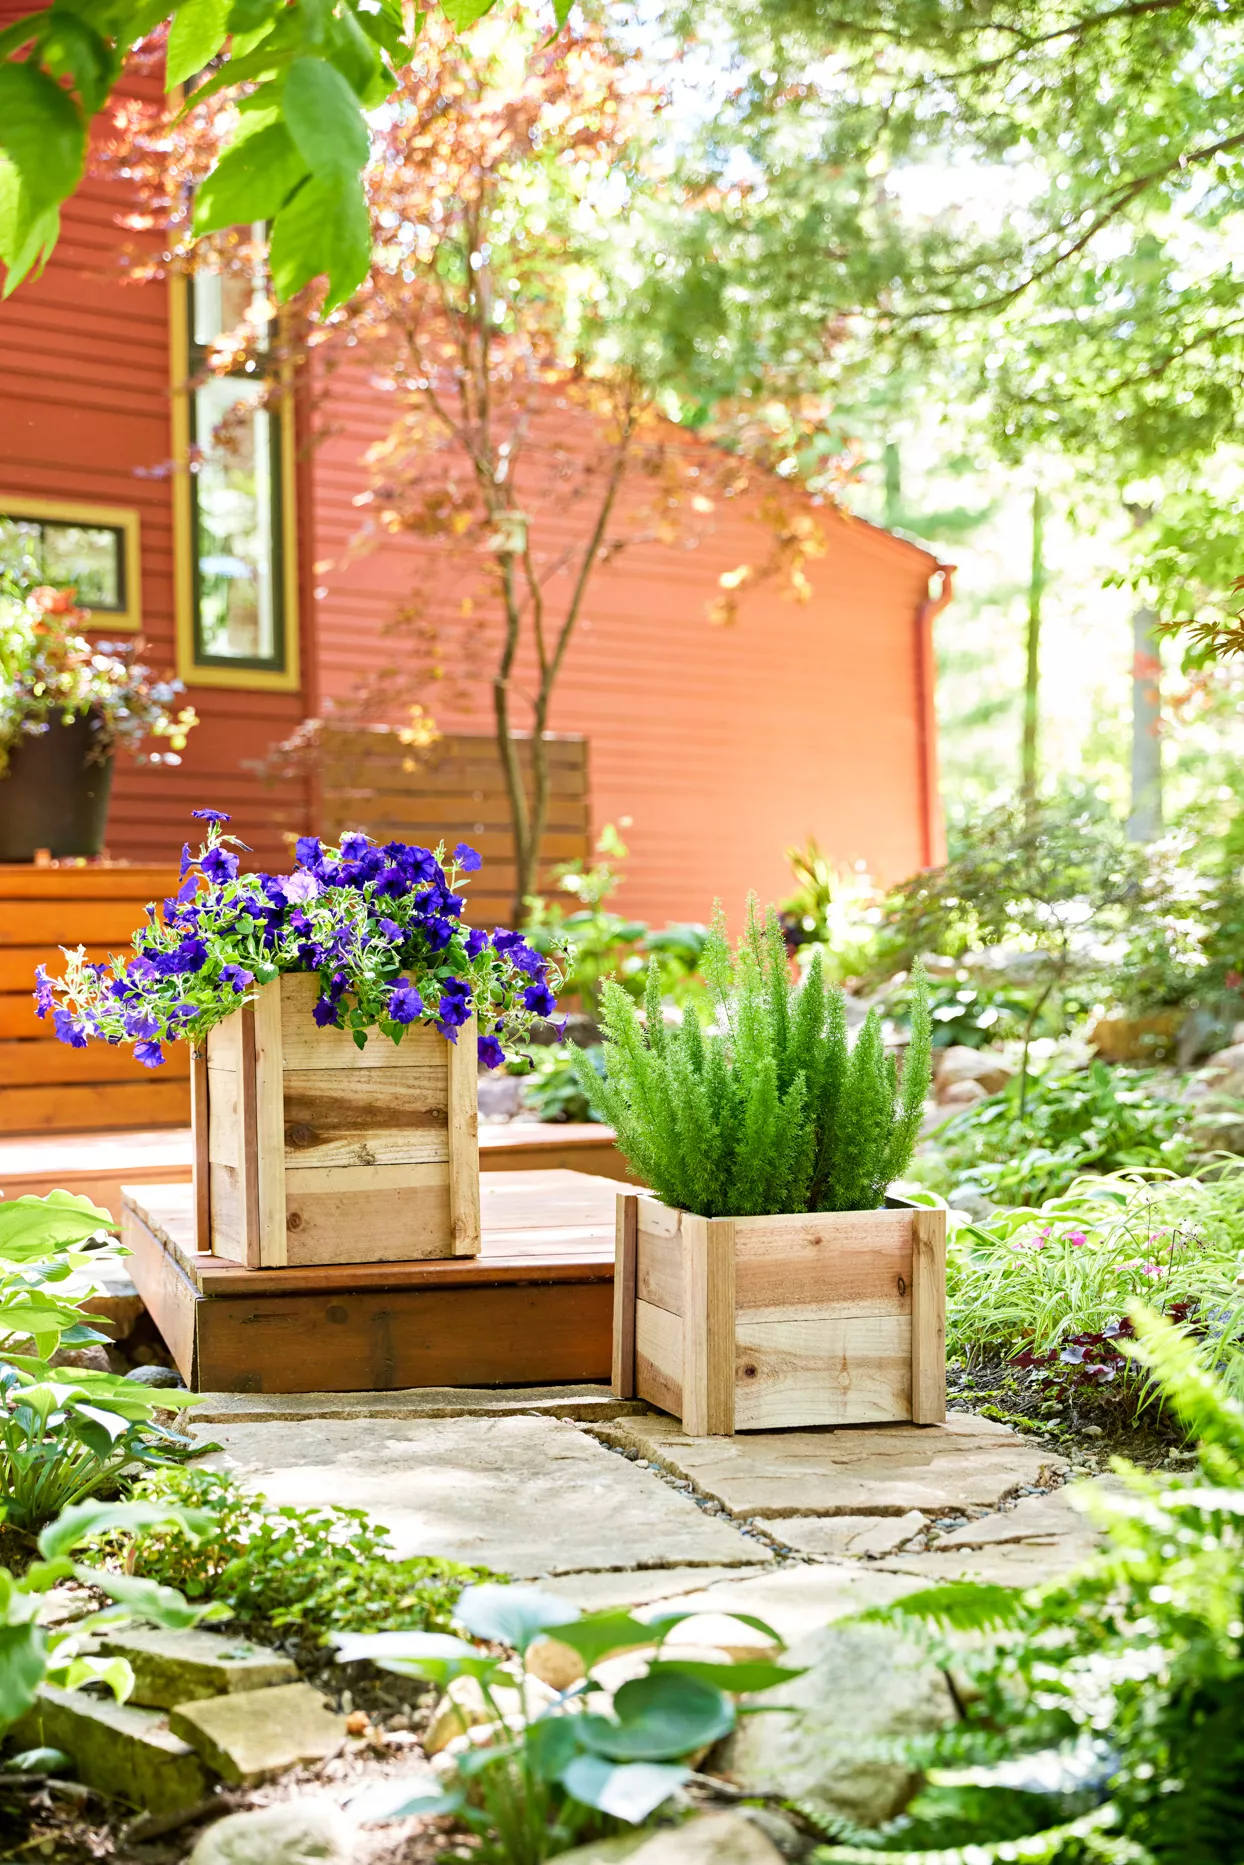
Fashion 6-foot cedar fence boards into plant pot slipcovers. After trimming off dog-eared ends from the boards, cut into 1-foot-long pieces. You will need 12 for the tall pot and eight for the shorter pot. Use waterproof glue to adhere three boards into a slab (two for the shorter slipcover), then repeat three more times. Weigh the slabs down to keep them flat while they’re drying. For the vertical corner boards, cut eight 12-inch pieces from 1×2 cedar boards. Arrange the slabs into a cube and use a drill or pin nailer to attach two uprights at each corner.
DIY Garden Obelisk
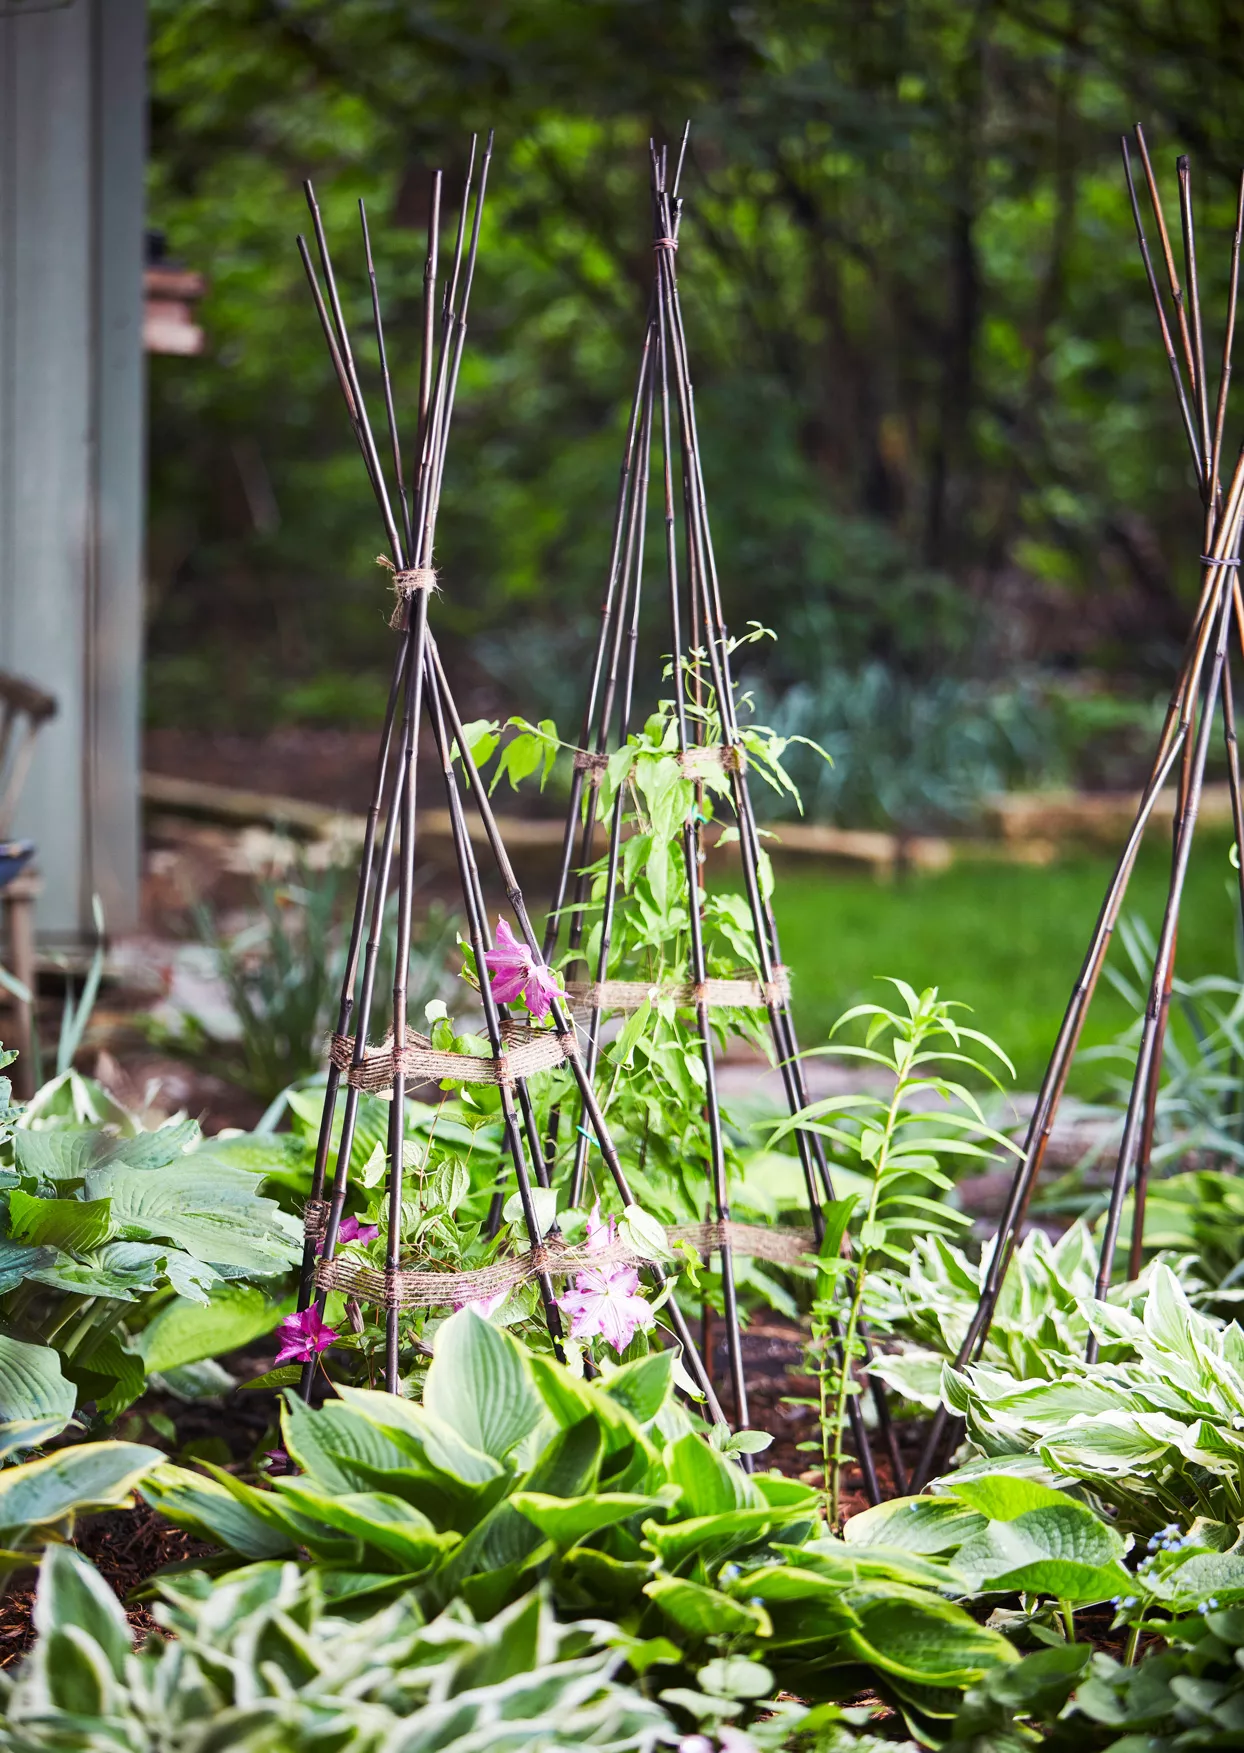
Create vertical interest with this DIY outdoor project. Make an obelisk over vines or other climbing plants by gathering bamboo stakes and twine from a garden or home center. Stick seven stakes in the ground around your plant. Wrap twine near the top of the bamboo to stabilize the arrangement. Weave more twine around the middle and bottom of the structure to further secure the stakes. As you wrap the twine, wind it once fully around each bamboo stake so that it stays in place.
Color-Block Concrete Planter
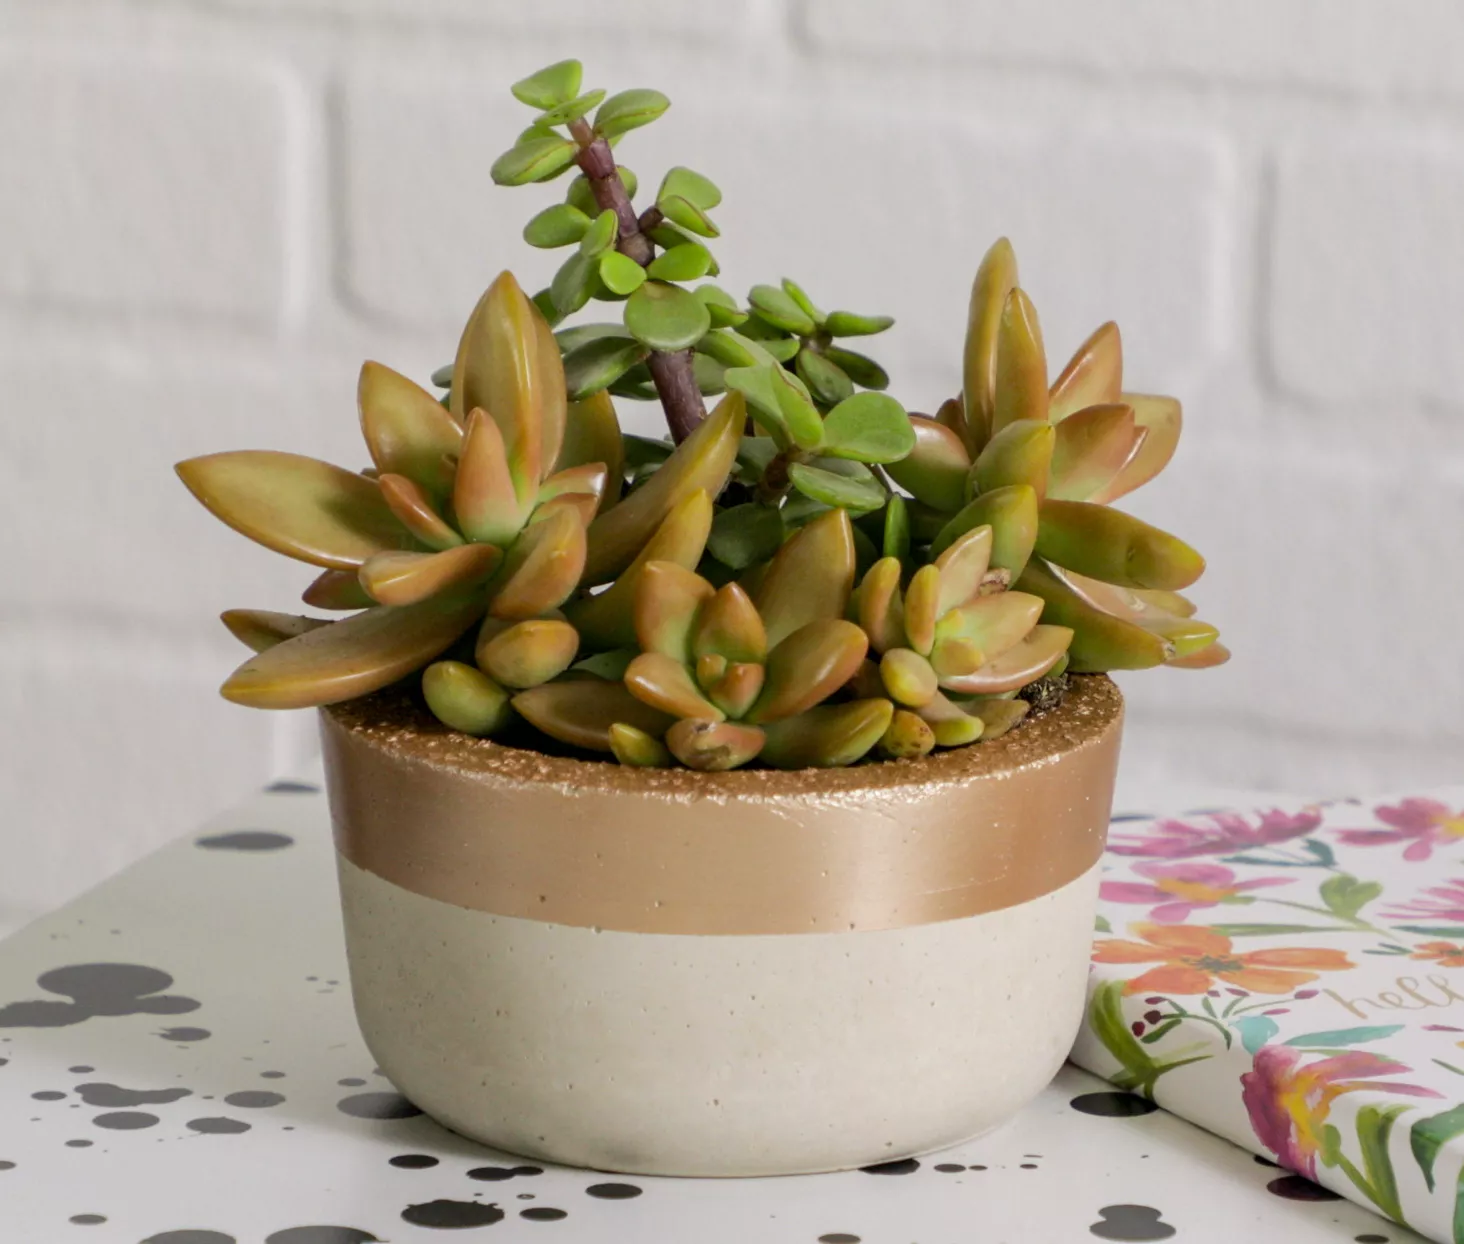
Give basic concrete containers a colorful update. Create a color-block effect by portioning off a section of the planter with masking tape, then add color with spray paint. Let it dry, then fill with your favorite flowers or plants.
Colorful Rope-Wrapped Pots
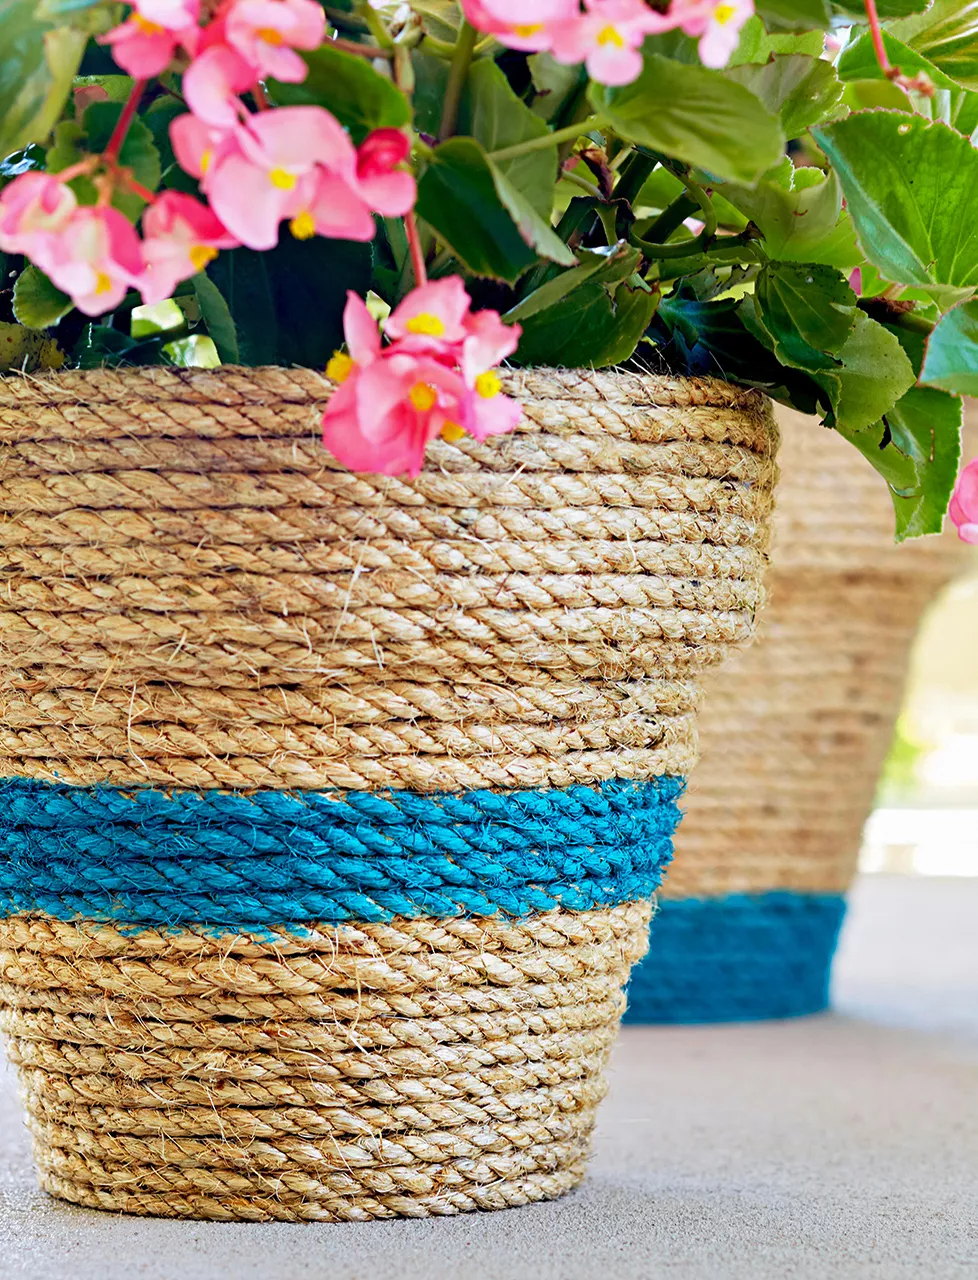
Add texture and color to a plain terra-cotta pot with this DIY project. Wrap a long strand of twine or rope around a pot (the exact length depends on the size of the container) and secure the ends with hot glue. Paint designs on the rope with colorful latex paint.
Fabric-Covered Stepping-Stones
Bring your favorite fabric outdoors to enhance your stepping stones. Not counting the drying time, this outdoor craft takes only 30 minutes to put together. Simply attach a fabric cutout to pavers with polyurethane seal and let everything dry.
Flowerpot Birdhouse
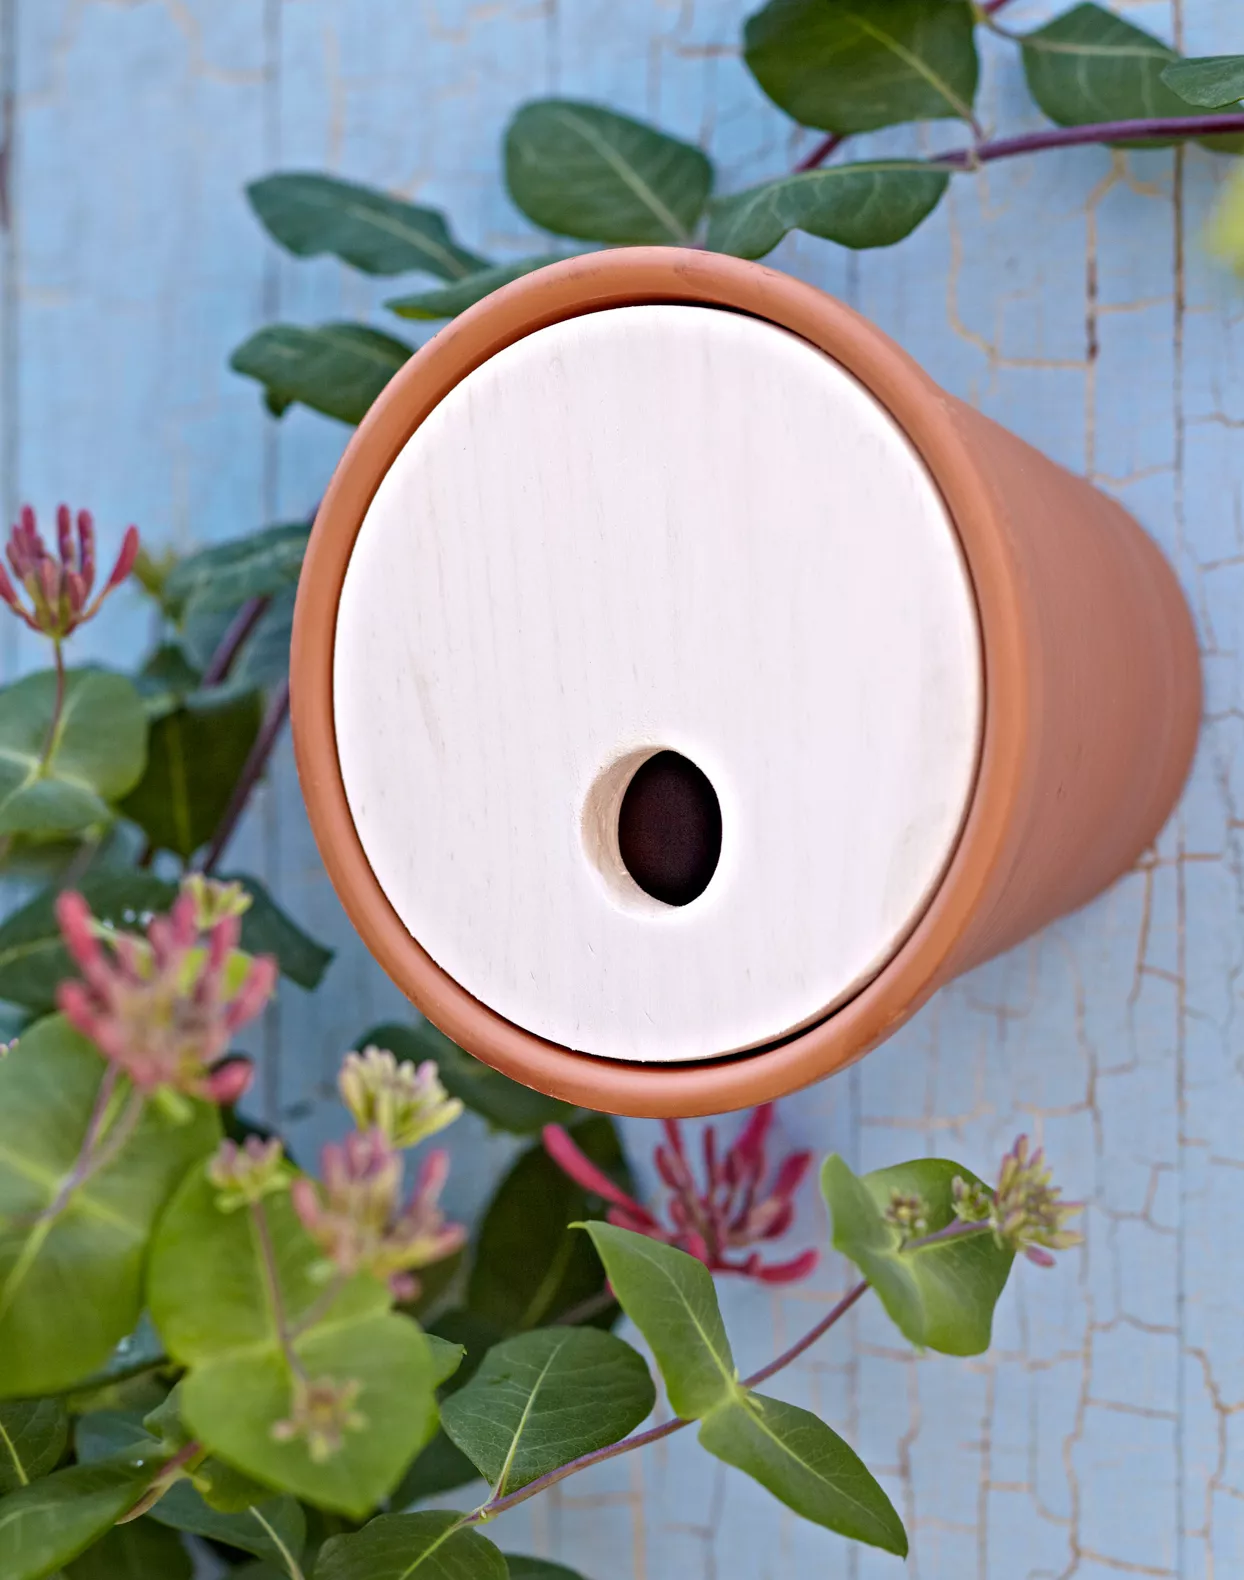
A simple terra-cotta flowerpot easily becomes a cute birdhouse with the help of a few basic crafts supplies. Secure the pot to a sturdy surface, such as a fence, and add a wooden plaque with a drilled hole. Then sit back, relax, and get ready to watch your feathered friends.
No-Sew Burlap Wrap
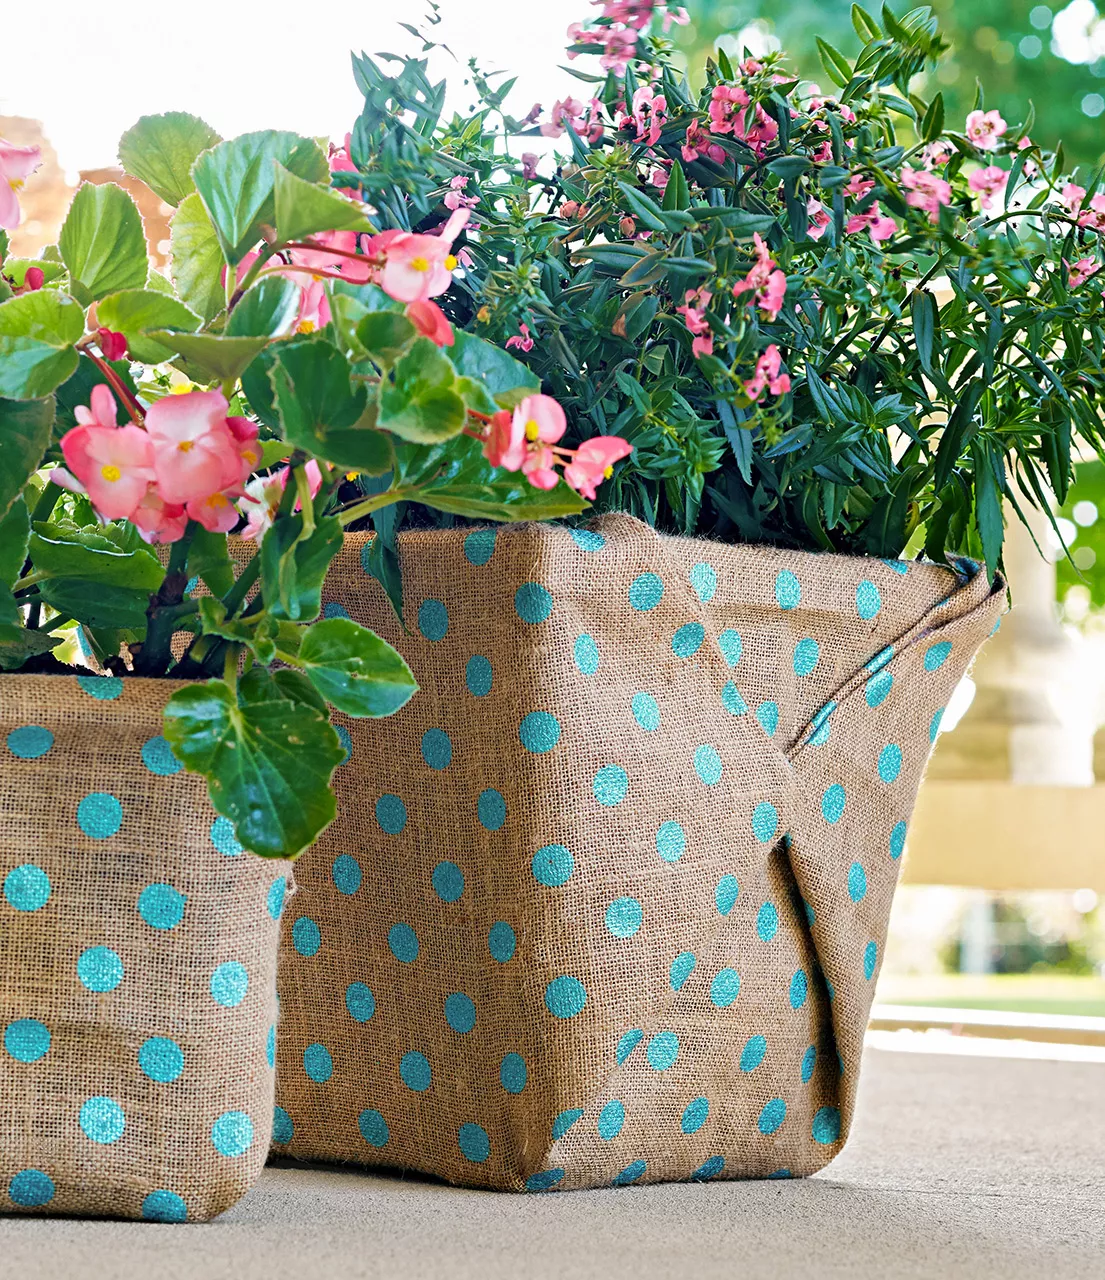
Use no-sew burlap wraps to cover basic plastic pots housing large shrubs and plants. Start with a few yards of burlap, then fold them over the planter as if you were wrapping a present. Secure the fabric with hot glue, then embellish it with painted patterns.
DIY House Numbers
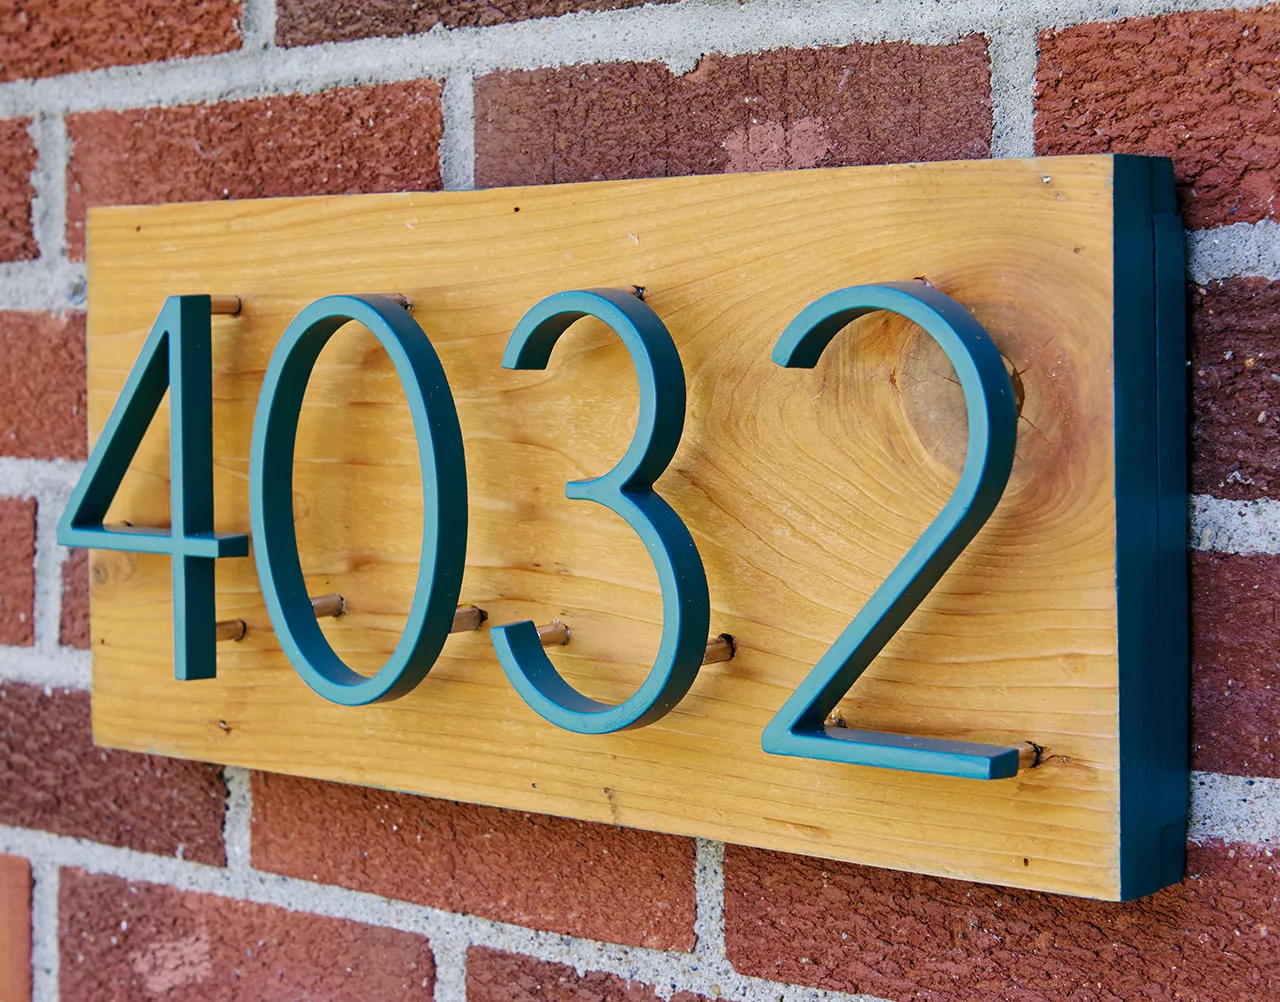
House numbers serve an important purpose when guests come to visit, so make sure they stand out. If your front door is far from the street, mount a set near your walkway. Add more emphasis to metal numbers by mounting them on a piece of wood, or add a colorful background with spray paint.
Mini Succulent Garden
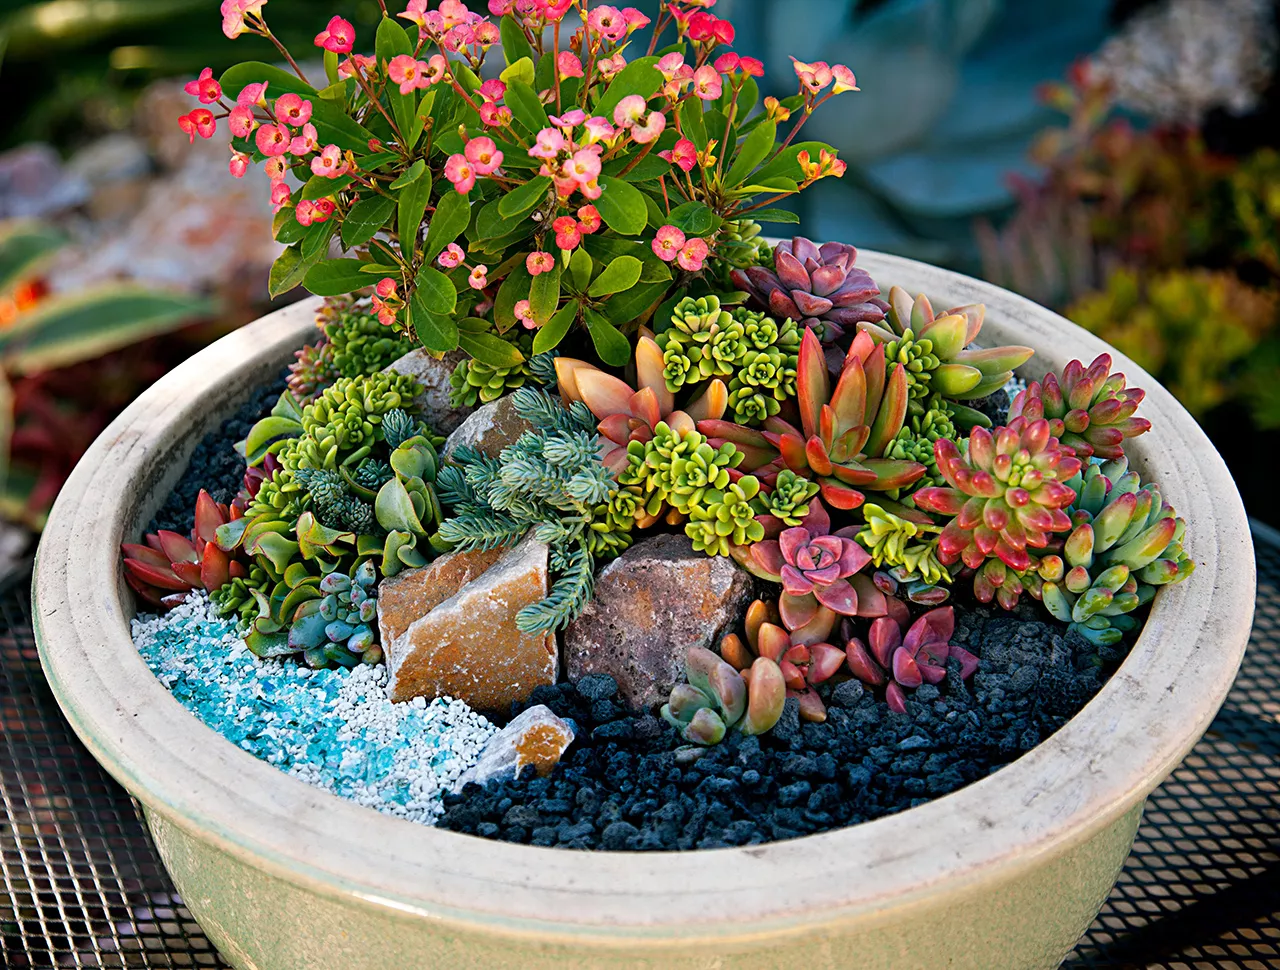
This miniature succulent container garden takes only a few minutes to assemble. Start by pouring soil into an 18-inch pot, then add rocks, a taller plant, and succulent cuttings. Finish with colorful tumbled glass, lava rock, and white pumice to incorporate a variety of textures.
Quick Outdoor Pillow Updates
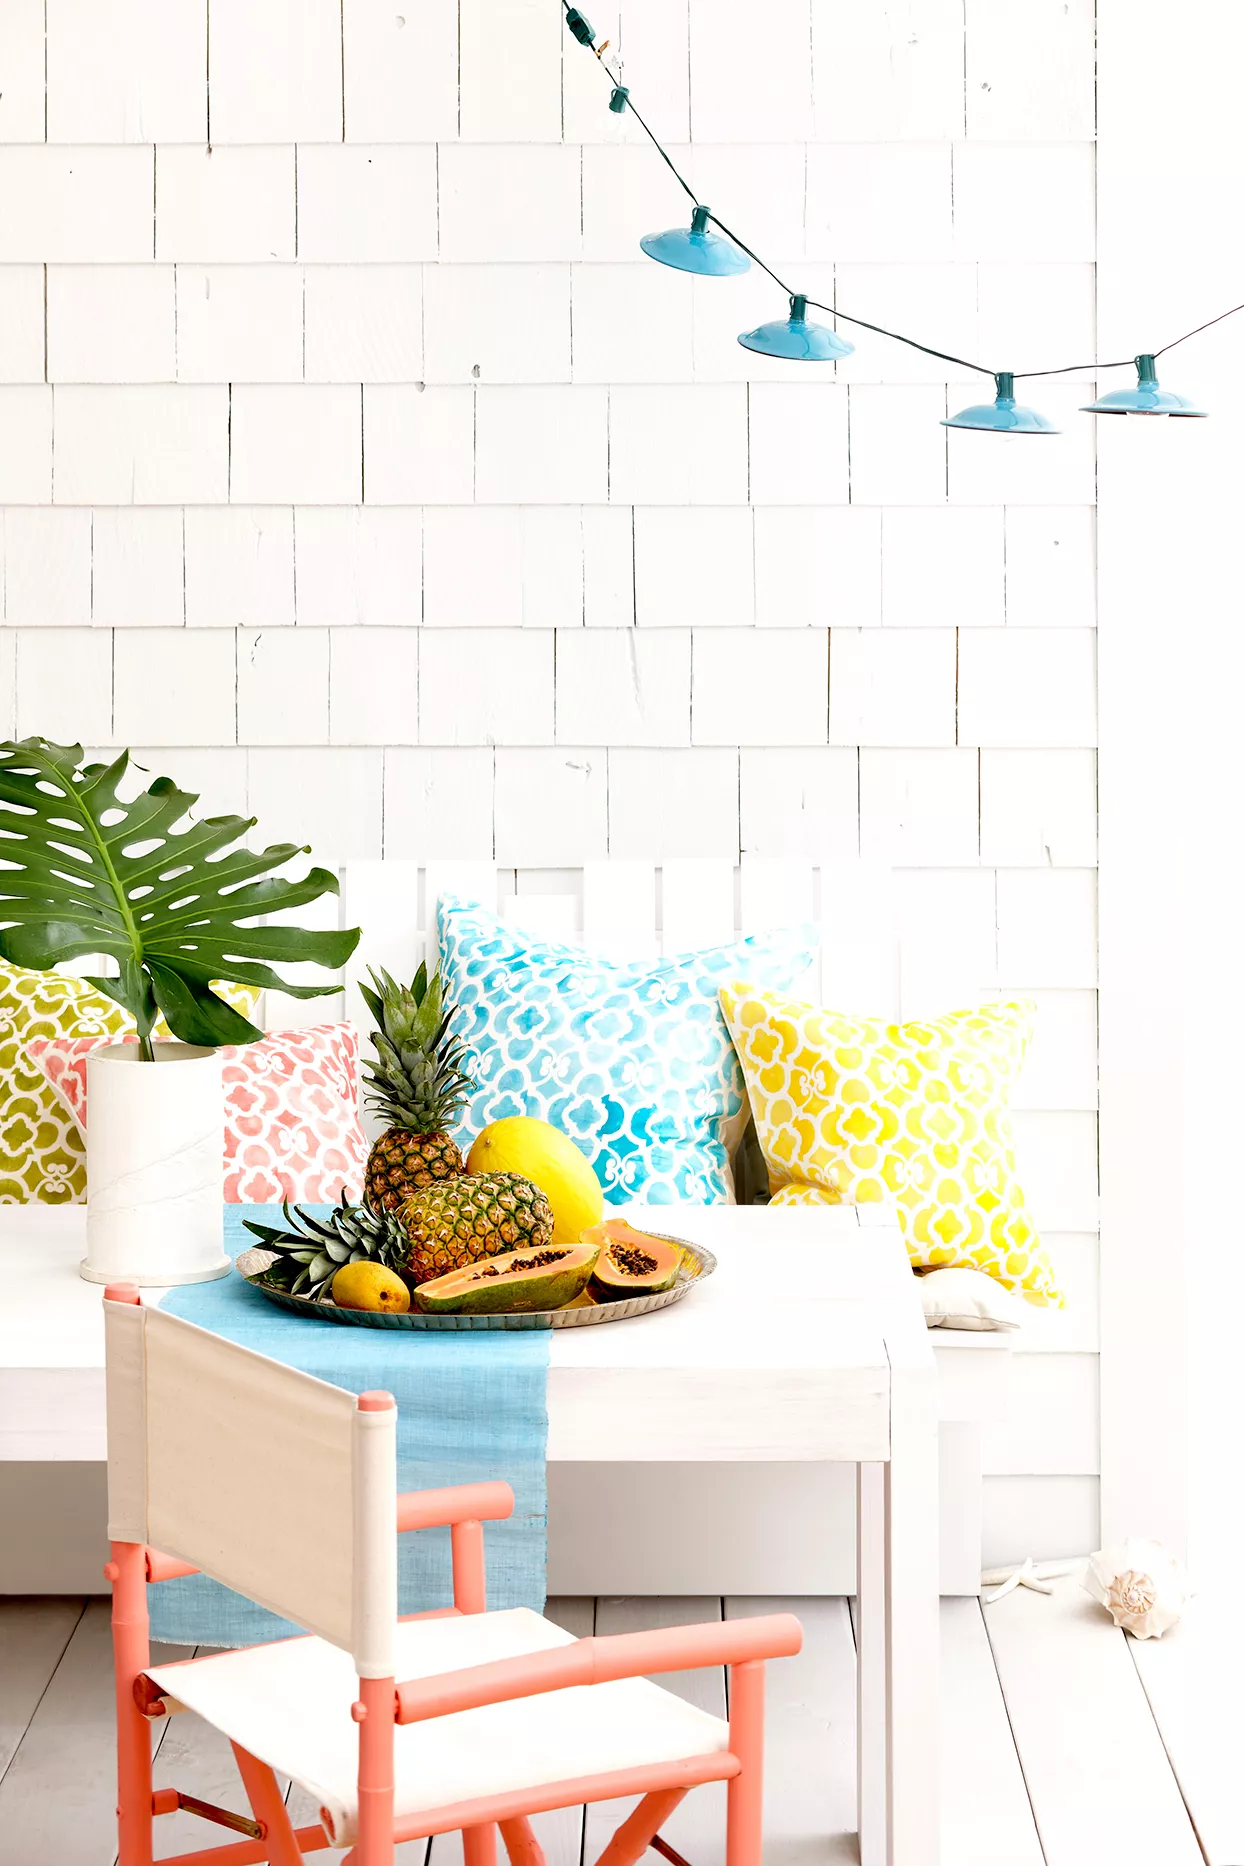
Upgrade outdoor pillows with a few easy embellishments. Add pom-poms to each corner, or create an eye-catching pattern with a painted design. Use stamps or stencils to achieve crisp lines and even shapes.
Wine Bottle Chimes
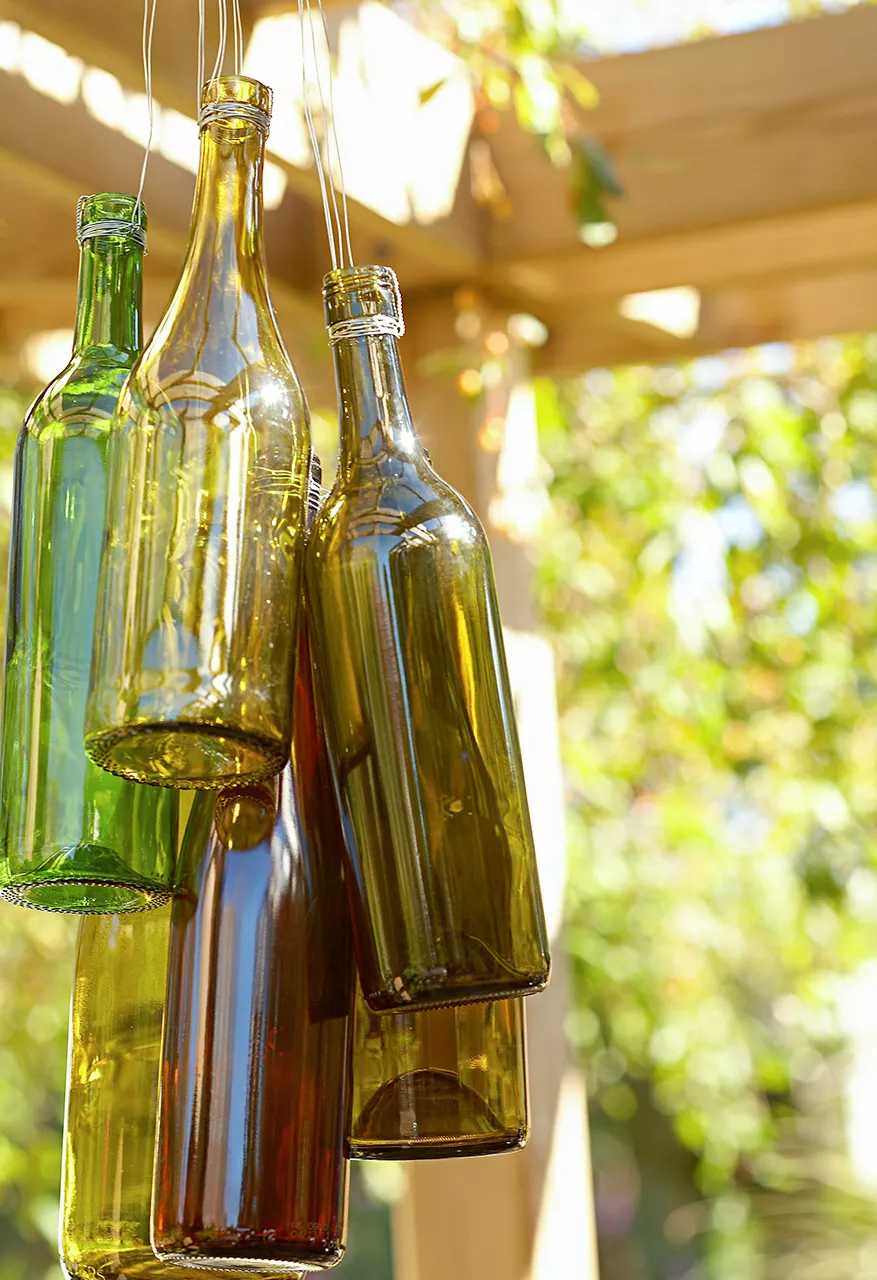
Save a few empty wine bottles to repurpose as DIY outdoor decor. Make this wind chime by wrapping the necks of empty wine bottles in aluminum wire, then hang them from a pergola, overhang, or tree.
Dip-Dye Outdoor Place Mats
Pick your favorite color and get to work on these easy dip-dye outdoor place mats. Start by filling three plastic tubs with water. Add dye to one bucket, then, one at a time, dip the place mats in the solution. Use the other two buckets to rinse the mats, and allow them to dry.
Outdoor String Lights
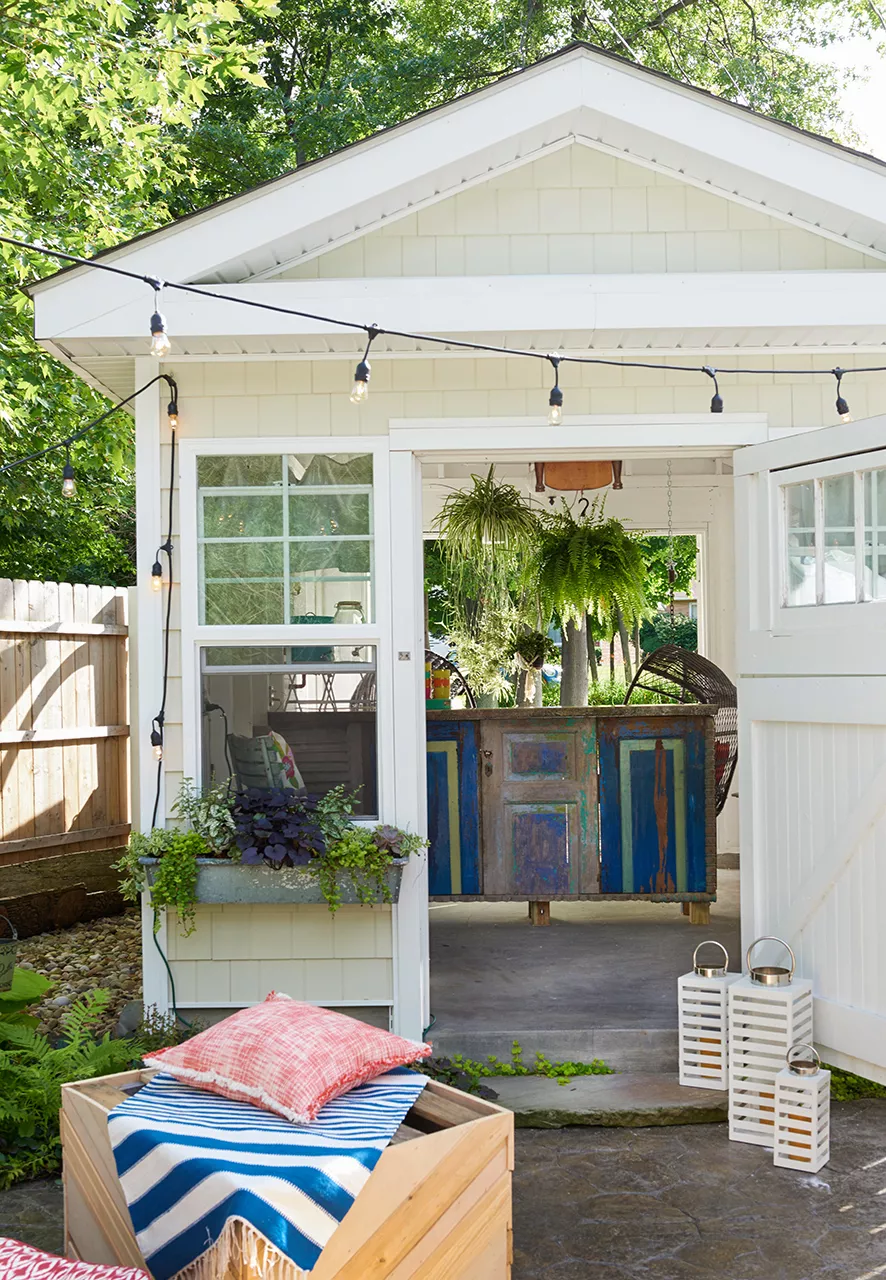
Hang string lights in any space that could benefit from a soft glow, such as near a deck, she-shed, or patio. If you have no outdoor outlets, opt for battery-operated string lights. Add personality to your outdoor lighting with simple DIY updates, like colorful paper shades.
Graphic Beach Towels
Personalize basic beach towels with a summery phrase, a family member’s initials, or a fun pattern. Apply equal parts bleach and water using a stencil to create a subtle, yet graphic design. Remember to wash the bleached towels before you spread them out on lawn chairs or pack them for the pool.
DIY Welcome Mat
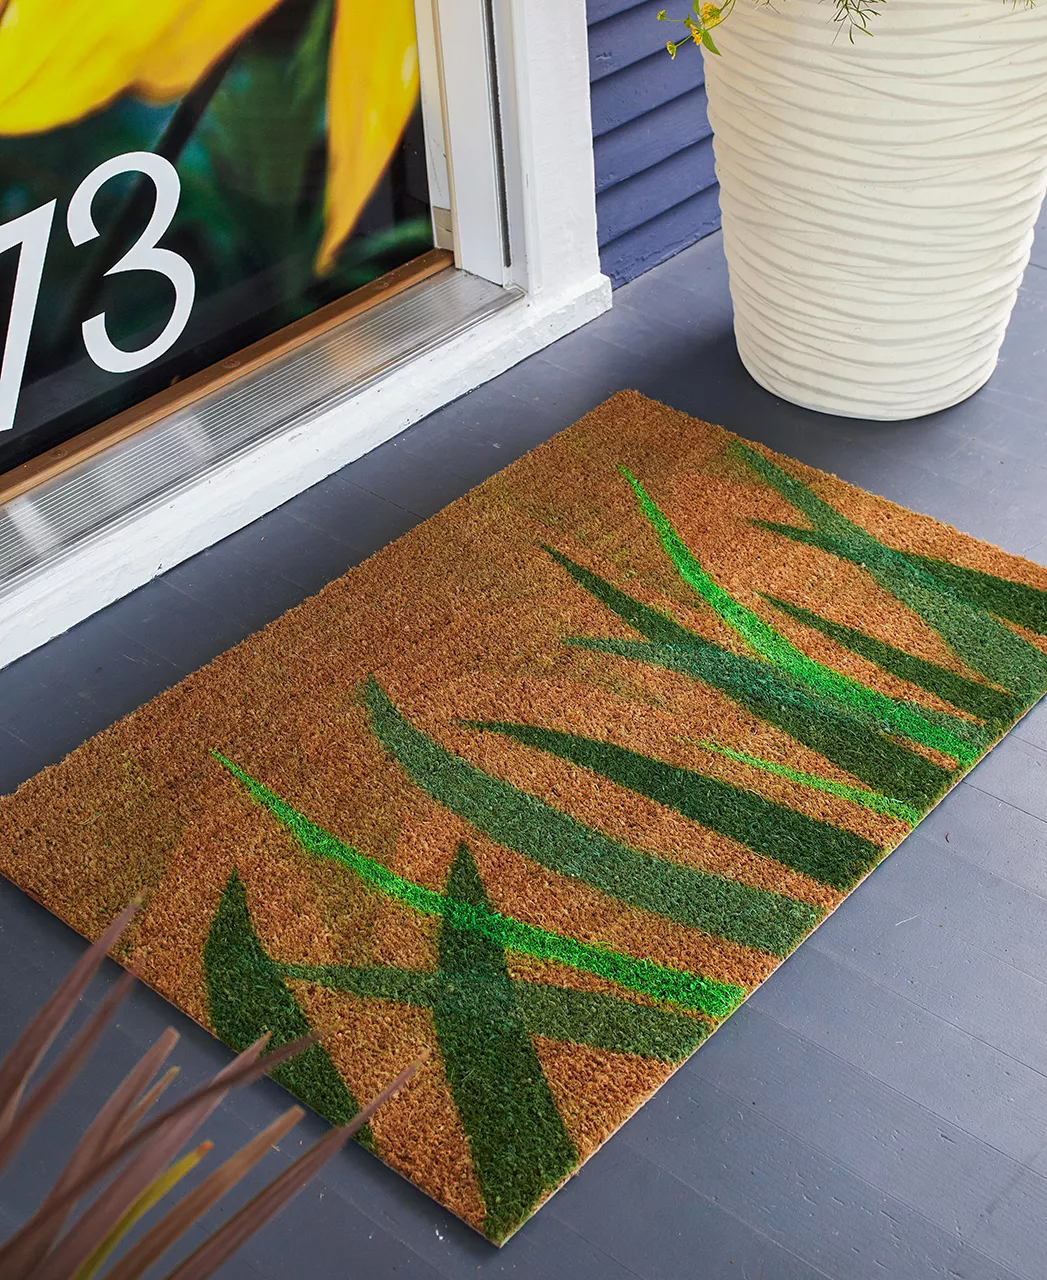
Greet guests with a summery DIY doormat. You can quickly create a custom design on a plain mat using painters tape and spray paint. To make this fresh grass design, simply mask off your pattern with tape, then spray various shades of green.
Key Wind Chime
Give new life to old keys with this simple wind chime. Gather keys you no longer use (or look for some at thrift stores and flea markets) with interesting shapes or details. Wrap a tree branch with colorful shades of embroidery floss, then hang old keys at different lengths.
Wildflower Outdoor Centerpiece

You can make a sweet centerpiece for your outdoor table in five minutes. Simply arrange Mason jars of varying sizes on the tabletop and fill them halfway with water. Gather freshly cut wildflowers to arrange inside.